From Moodboard to Shot-Ready Frames: Fast AI Storyboards for Production
Turn moodboards and shot lists into consistent, production-ready AI storyboard frames. A practical workflow for creators using WowMade AI Image Generator.
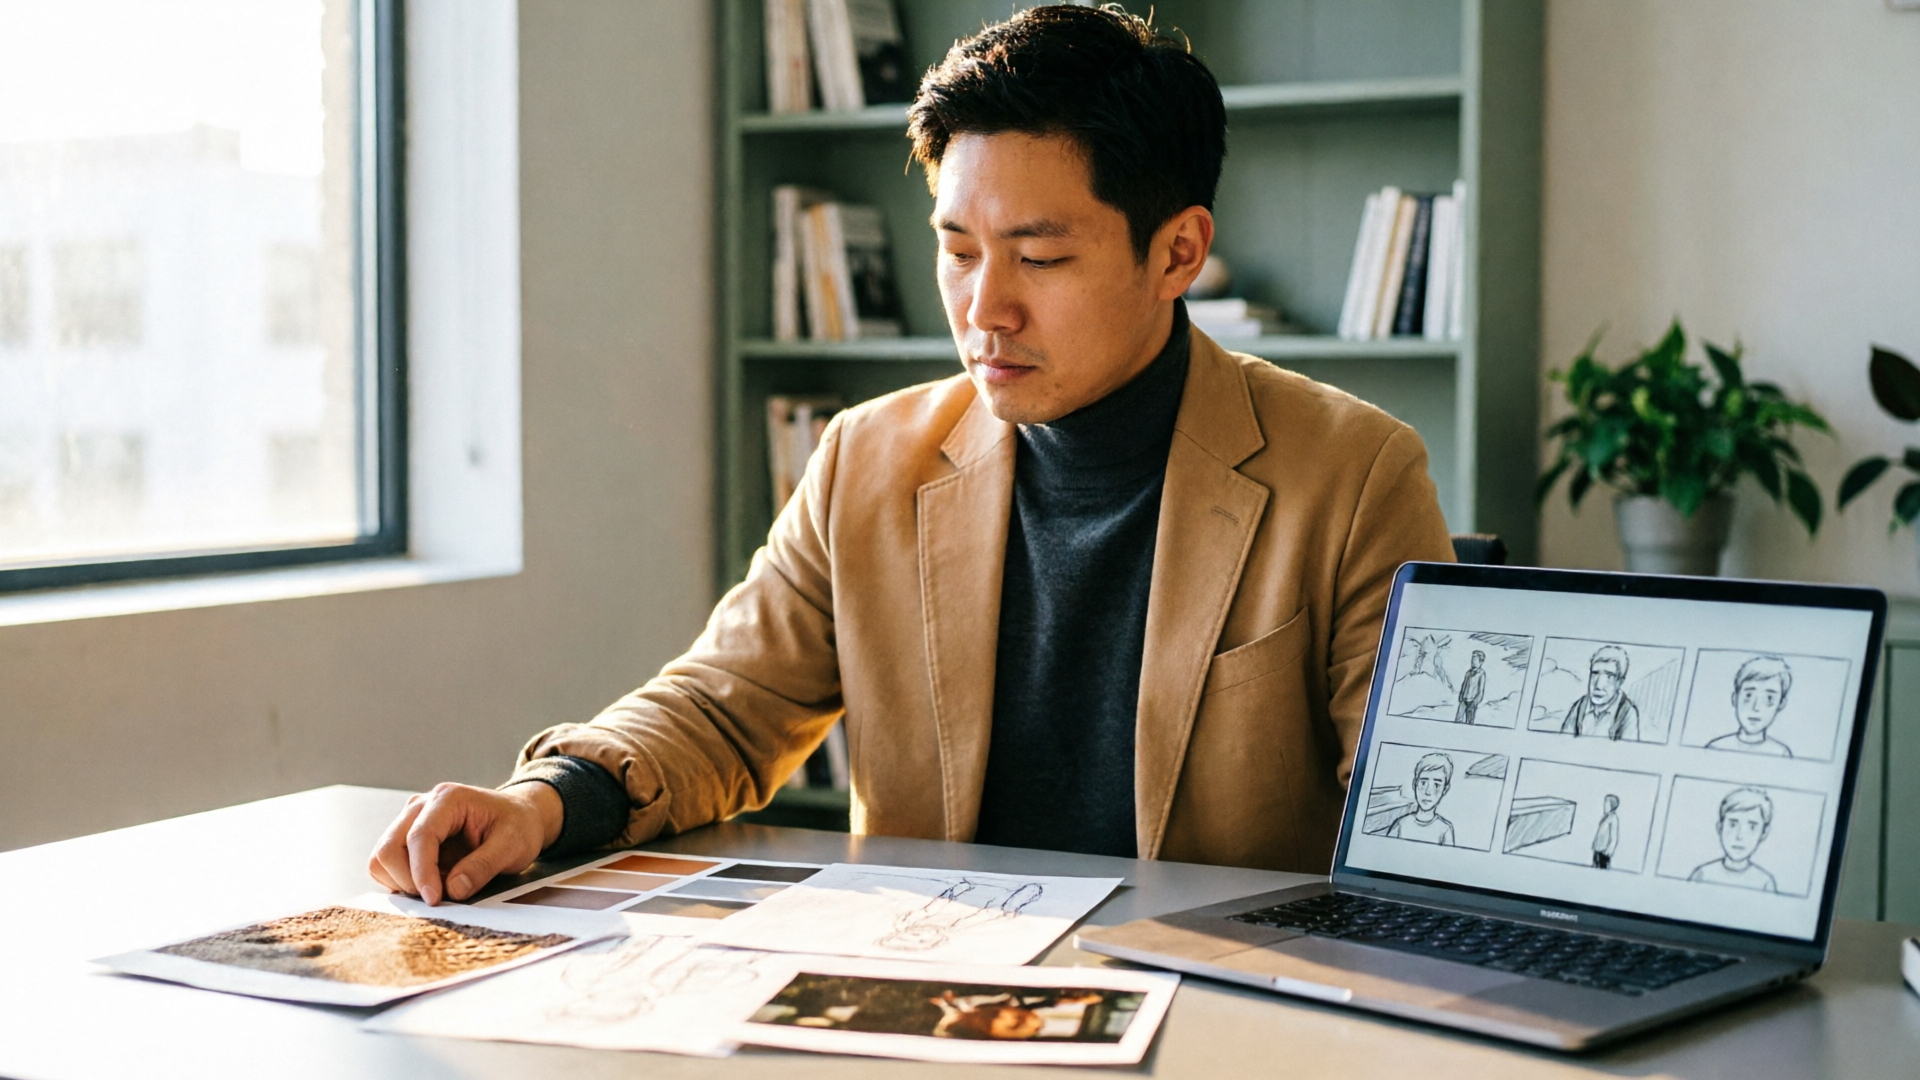
You open a folder of messy moodboard images and a one-page shot list — the kind of brief that usually means hours of sketching or hiring a concept artist. Instead, imagine producing six coherent storyboard frames in under an hour that match your lighting, lens choices, and color palette. That’s the promise of using AI storyboard frames from moodboard as a repeatable part of previsualization.
This guide walks through preparing inputs, building a reusable visual-style block, and a concrete six-panel walkthrough using the WowMade AI Image Generator. You’ll learn the exact prompt structure that improves fidelity for production, when to upload reference images, and a prompt-refine loop that gets you from rough frames to a locked visual look in a few iterations. Along the way we’ll show how to export thumbnails and feed frames into an AI video workflow so your boards can become animatics or hero assets.
The goal is practical: leave with a reusable prompt template, a simple step-by-step to generate a storyboard, and a clear way to iterate styles so your next project costs fewer generations and delivers consistent frames every time. The WowMade AI Image Generator is the tool used for each worked example — it generates, edits, and exports the aspect ratios you need for thumbnails, hero images, or reference frames for video.
From Moodboard to Shot List: Preparing inputs that produce coherent storyboard frames
Start by treating the moodboard and shot list as two distinct inputs. The moodboard provides the visual language — color, texture, lighting references, and acting beats. The shot list provides narrative constraints — coverage, camera distance, and movement. The AI performs best when you package both into a structured prompt and a single reference image upload.
A strong image-generation prompt should include subject, setting, style, composition, lighting, mood, and output format. These elements materially improve fidelity for production use: specify the character’s action and costume (subject), the room or exterior (setting), an art reference or era (style), framing and lens choice (composition), lighting direction and quality (lighting), the emotional tone (mood), and the target aspect ratio or output size (output format). Cloudinary’s prompt guide lists the same components as effective prompt tokens for reliable results: subject + style + composition + lighting + mood + format.
Practical ordering: lead with the subject and action, follow with the setting and time of day, then add the style block and technical constraints. Example: “Close-up of lead actress checking a vintage watch, cluttered train compartment at dusk, gritty 35mm film noir palette, soft window key light, shallow depth of field, cinematic 2.39:1 aspect ratio.”
Always include a reference upload from the moodboard when possible. Image-to-image and reference uploads are a best practice: a single reference helps models preserve composition and aspect ratio when generating new frames. If your moodboard has a single anchor image (a photo or a painted frame), upload that alongside the prompt and tell the model to preserve composition or pose. That reduces unexpected shifts and keeps characters and set pieces where you expect them.
Building a reusable visual-style block: locking lighting, lens, and palette for consistency
When producing sequential frames, consistency is the most common failure mode. Different generations can subtly vary film grain, skin tones, or lens characteristics. The fastest way to avoid this is to lock a fixed block of style, lighting, and lens tokens and reuse it verbatim across every prompt. This isolates compositional changes from style variance.
What to include in your style block: exact lighting description (e.g. "narrow key light from left, warm 3200K rim light"), a lens token (e.g. "50mm f1.8, shallow depth of field"), color grading ("muted teal-orange grade, -10 highlights, +5 shadows"), and a clear art direction line ("1990s European realism, high texture detail"). Put that whole block at the end of every prompt; treat it like a CSS class you paste into each generation.
Practically, teams find a stable block after a few iterations; industry reports show initial style discovery commonly costs ~10–15 generations, and once a stable template exists subsequent projects require only ~2–3 generations. That ROI is why you should save your style block as a template in your asset library.
The WowMade AI Image Generator supports saving and reusing prompt variations and outputs multiple aspect ratios from the same prompt in one pass. That means you can generate a widescreen storyboard frame and social-size thumbnails together while using the identical style block — preventing cross-output drift. Also use the tool’s edit-in-place function when you need to nudge lighting or swap an outfit without re-creating the entire frame from scratch.
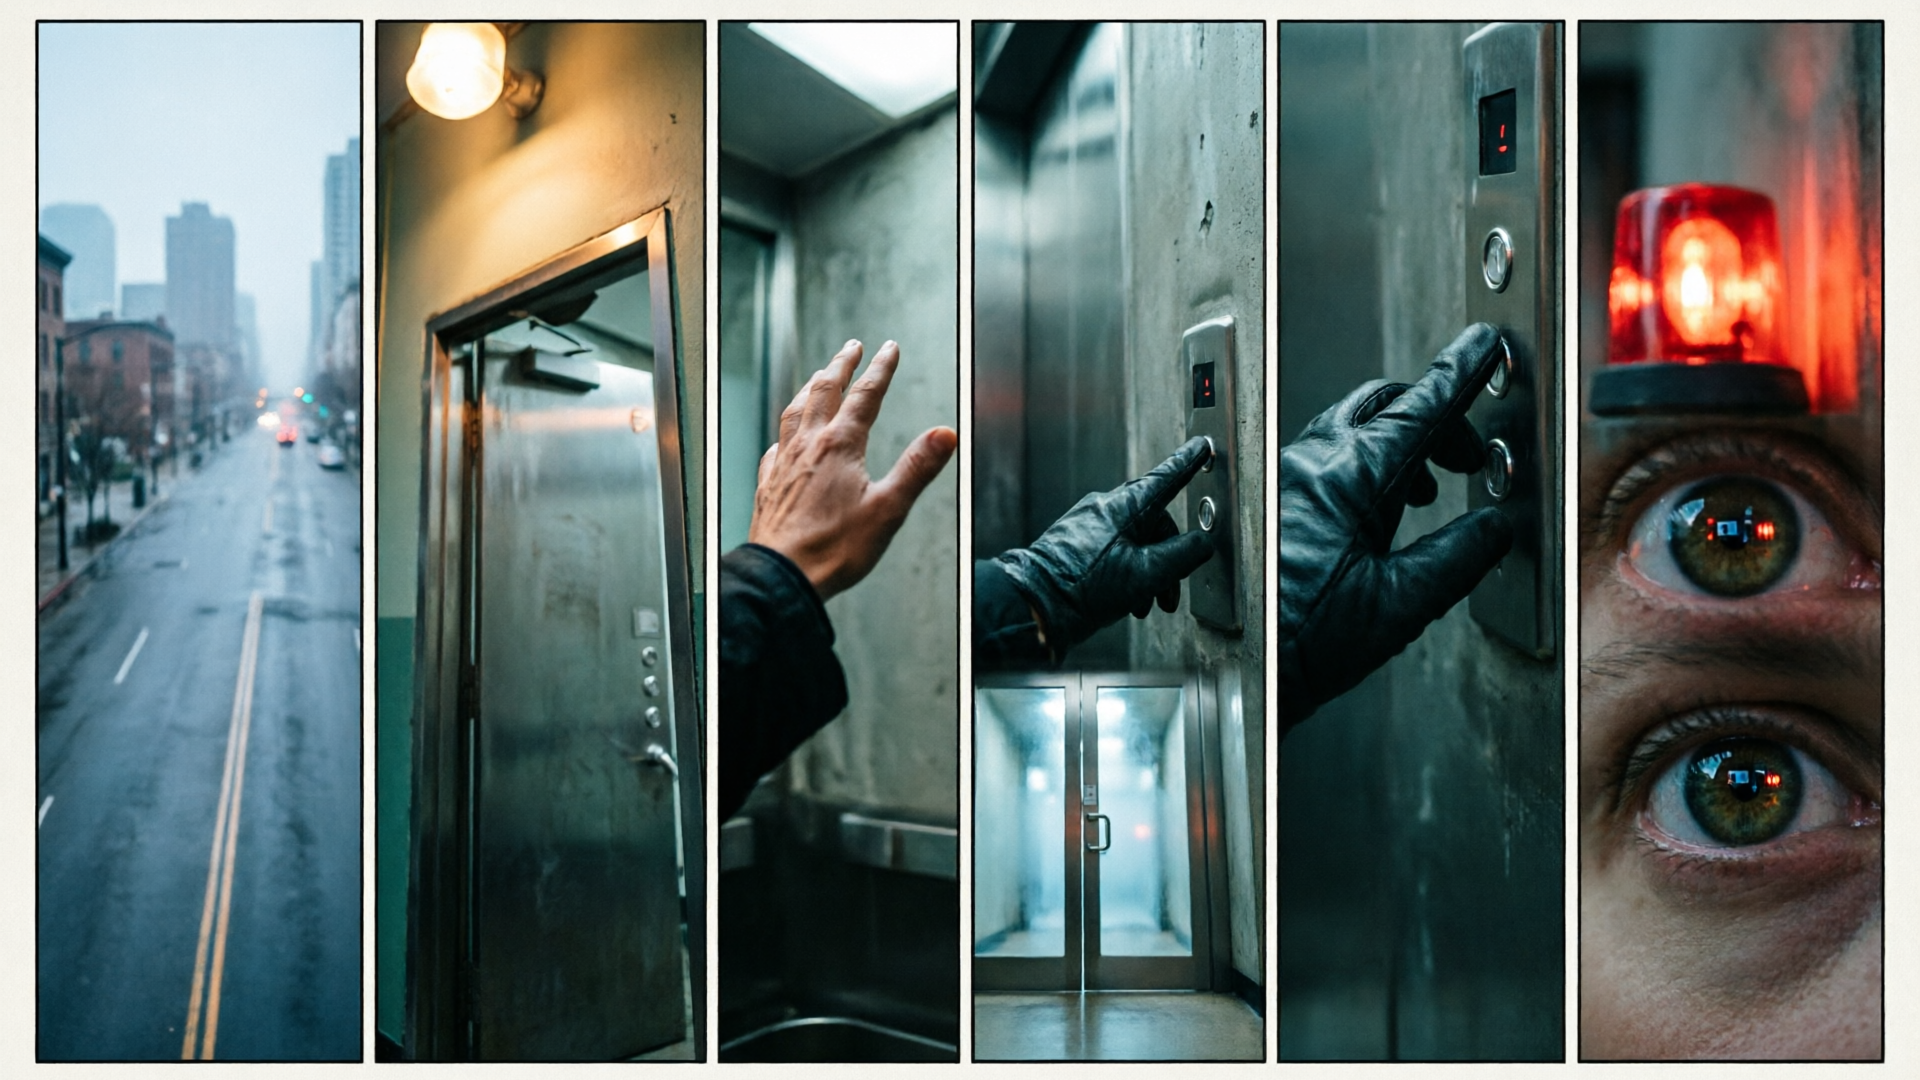
Hands-on: Generate a 6-panel storyboard from a moodboard (step-by-step workflow)
Here’s a concrete workflow you can repeat. The example assumes a short dramatic scene: a meeting in a dim cafe, late afternoon.
1) Collect inputs (10–15 minutes)
- Select 4–6 moodboard images that communicate color, shot contrast, and a character reference. Choose one anchor image you’ll upload as the reference.
- Write a one-line shot list for six panels (e.g., Establishing wide, two-shot medium, over-the-shoulder close-up, insert on hands, reaction close-up, exit wide).
2) Build your shared style block (10 minutes)
- Create a single paragraph with lighting, lens, and color grade. Example block: “warm tungsten key from left, soft window backlight, 35mm lens, slight film grain, muted teal-orange grade, cinematic contrast.” Save this string to reuse.
3) Create the six prompts (20 minutes)
- For each panel, lead with the subject and action, add setting and shot type, then paste the style block and output format. Example prompt for panel 3: “Over-the-shoulder close-up of protagonist listening, coffee cup in foreground, cafe interior at dusk, 50mm shallow depth of field — warm tungsten key from left, soft window backlight, 35mm lens, slight film grain, muted teal-orange grade, cinematic 2.39:1.”
4) Upload the anchor reference and run a batch generate in the WowMade AI Image Generator (5–10 minutes)
- Use the reference to anchor composition. The generator will produce images from text and allow you to request multiple aspect ratios in one pass — useful for widescreen frames and square thumbnails.
5) Review and iterate (15–30 minutes)
- For panels that need adjustment, use edit-in-place to nudge lighting or preserve a character pose. Keep the style block identical for every revision to maintain continuity.
6) Assemble and label
- Export each frame and create a 6-panel sheet or keep files labeled by shot number. You can also export social-size thumbnails in the same run.
Worked example note: In the WowMade AI Image Generator, upload the anchor photo, paste each of the six prompts (with the same saved style block), select the 2.39:1 output and a square 1:1 thumbnail, and click generate. Save successful outputs to your library as "CafeScene_v1" so the next project can reuse the style block with fewer generations.
Iterate visual style quickly: A repeatable prompt-refine loop to converge on a final look
Treat iteration as an engineering loop: generate, evaluate, tweak the style block or composition parameters, and regenerate. Keep changes atomic — change only one token at a time (for example, swap "soft window backlight" to "hard sidelight") so you can measure the effect of each tweak.
The recommended loop looks like this:
- Round 1 (explore): 8–12 generations testing different style blocks and one or two anchor references. Capture the outputs that feel closest to the brief.
- Round 2 (converge): Pick the best style block and use it verbatim while varying composition across 4–6 generations.
- Round 3 (finalize): Use edit-in-place on the strongest frame to correct costume details, face consistency, or lighting falloff.
Because a stable template exists, later projects in the same visual family typically need only 2–3 generations. That’s why saving both the style block and a single representative frame in your WowMade library pays off: the AI Image Generator can recall and edit that frame in-place, giving you a head start.
When refining, use image-to-image for subtle continuity work: upload the chosen frame and instruct the model to preserve pose while adjusting color grade or depth of field. This is faster and less noisy than regenerating from scratch. Academic work on structured prompt engineering supports this method: framing prompts with subject + style and running iterative optimization produces better human preference outcomes than ad-hoc prompting (see research on prompt engineering).
If you need to prototype motion, export a clean frame and import it into the AI Video Generator as a starting frame for animatics or short clips — the WowMade pipeline is designed so image outputs flow directly into video generation without reformatting.
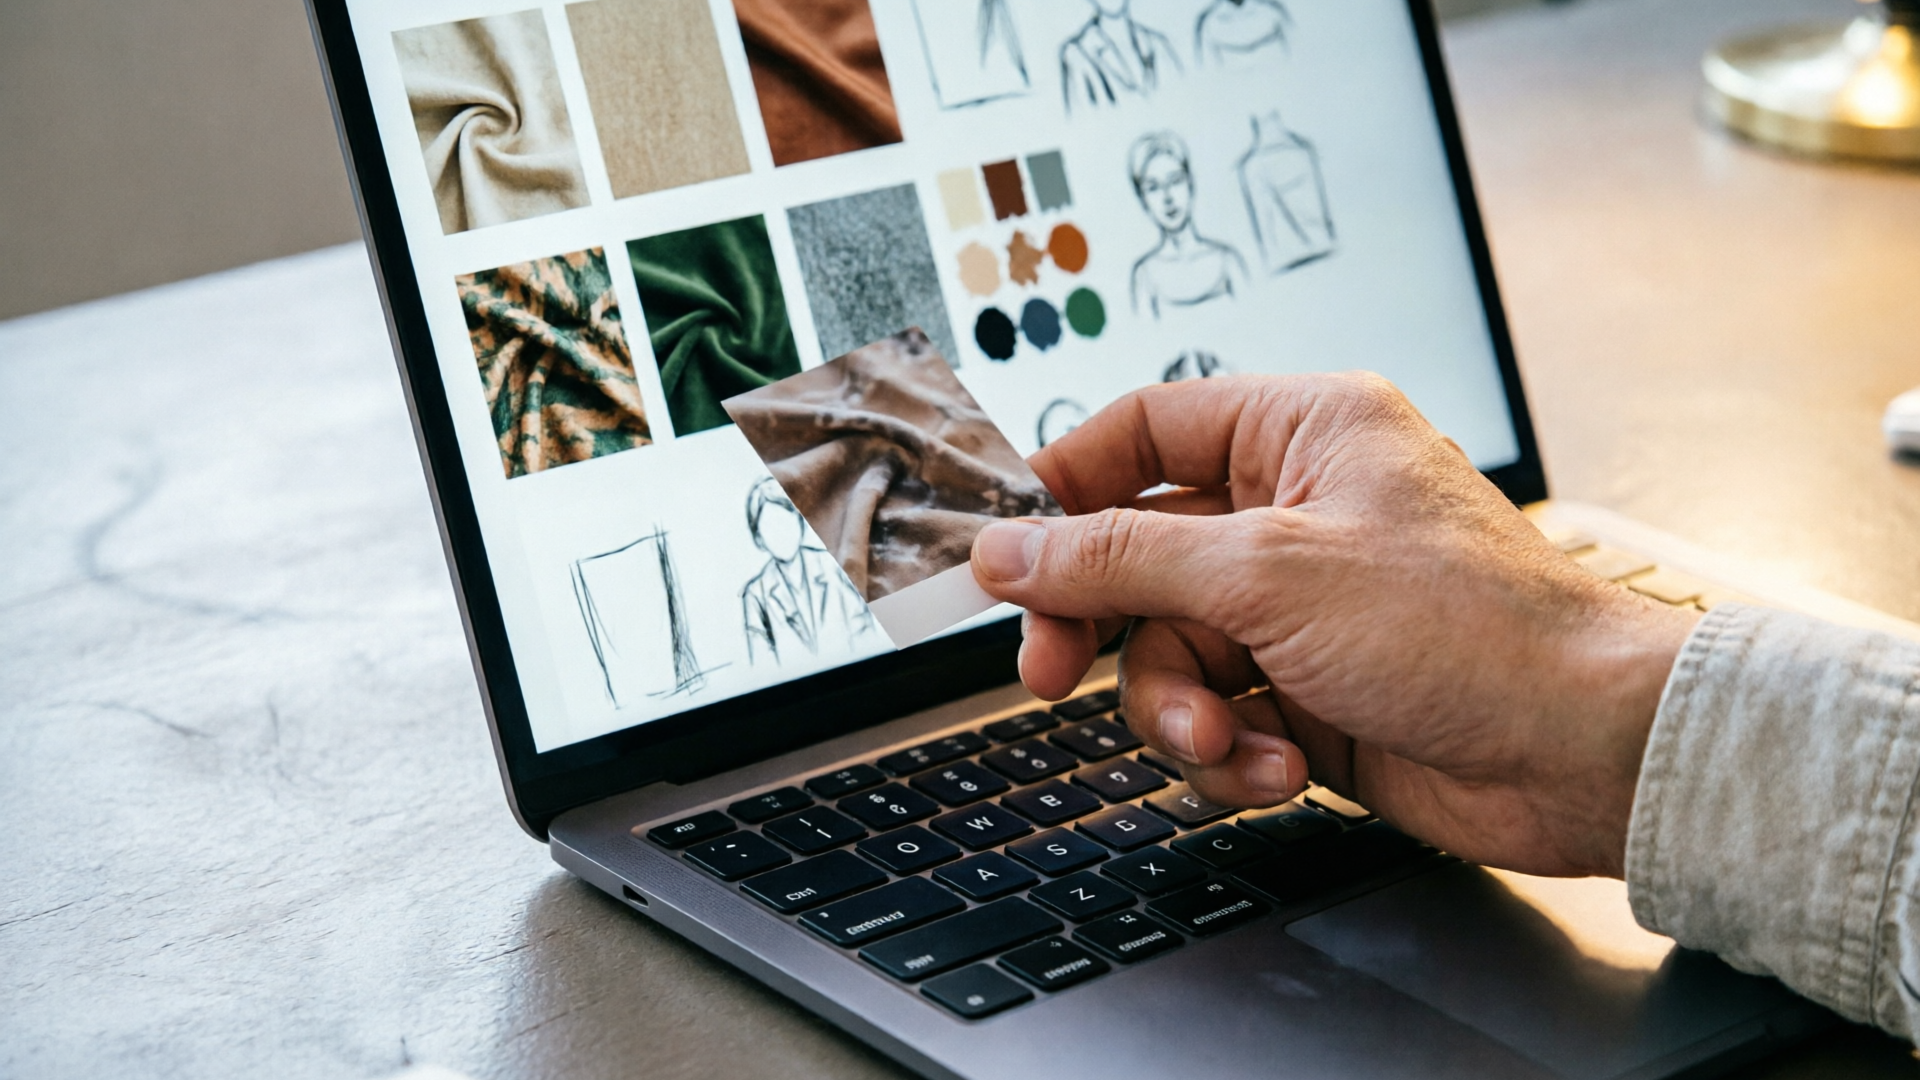
Export, remix, and feed frames into production: thumbnails, hero images, and video previsualization
Once you have locked frames, the next step is productizing them: create thumbnails, hero images, and animatics. Because the WowMade AI Image Generator can output multiple aspect ratios in one pass, you can produce a 2.39:1 board and 1:1 thumbnails together — both inherit the same style block, so they match.
For thumbnails and hero images, pick a single strong keyframe and run a small set of edits: tighten crop, amplify contrast, and optionally add text-safe space. Use the generator’s edit-in-place feature to swap backgrounds or adjust the subject’s expression without losing pose continuity. Save the variations alongside the original in your library so designers or social teams can pull approved options.
To feed frames into production, export high-resolution masters and one set of reference frames sized for the edit timeline. If you’re creating an animatic or testing camera moves, import 6 sequential frames into a timeline and generate simple pan/zoom steps. For more advanced motion, use the AI Video Generator to turn a still frame into a short animated clip — this is an efficient way to test timing and coverage without a shoot.
If your project needs music or voiceover for the animatic, drop an exported storyboard into the AI Music Generator or WowMade AI Voices for quick scored mockups and temp narration. That keeps stakeholders aligned before committing to a shoot. Finally, keep your style block and reference frame saved; they are the fastest path to consistent deliverables on future jobs.
Frequently Asked Questions
How many reference images should I upload with my moodboard?
Start with one anchor reference that matches your desired composition; add up to four supporting images for color or costume cues. One strong anchor reduces composition drift the most.
Can I reuse the same style block for different projects?
Yes. Save it as a template in your asset library. Teams report initial discovery costs ~10–15 generations, then 2–3 generations for new projects in the same style.
Will the AI keep character faces consistent across frames?
Use the same reference anchor and the locked style block; if face consistency is critical, generate each keyframe with the same reference and apply edit-in-place to refine details.
What aspect ratios should I generate for storyboards and thumbnails?
Generate your widescreen board at 2.39:1 for cinematic previsualization and include 1:1 or 16:9 thumbnails for social platforms — the WowMade generator can output multiple ratios in one run.
Conclusion
Building production-ready AI storyboard frames from a moodboard is about discipline: structure your prompts, lock a reusable style block, and use reference uploads to anchor composition. That workflow reduces variance and dramatically lowers generation costs over time. The WowMade AI Image Generator is designed for this: generate and edit frames from text or photos, output multiple aspect ratios in a single pass, and save variations to your library so you can iterate fast.
Open the AI Image Generator and spin up your first frame — keep refining the same prompt until the look is yours.