Turn One Product Photo Into Multiple 9:16 Intros: A Practical Guide
Step-by-step guide to turn a single product photo into multiple vertical 9:16 intro clips using image-to-video techniques and WowMade AI Video Generator.
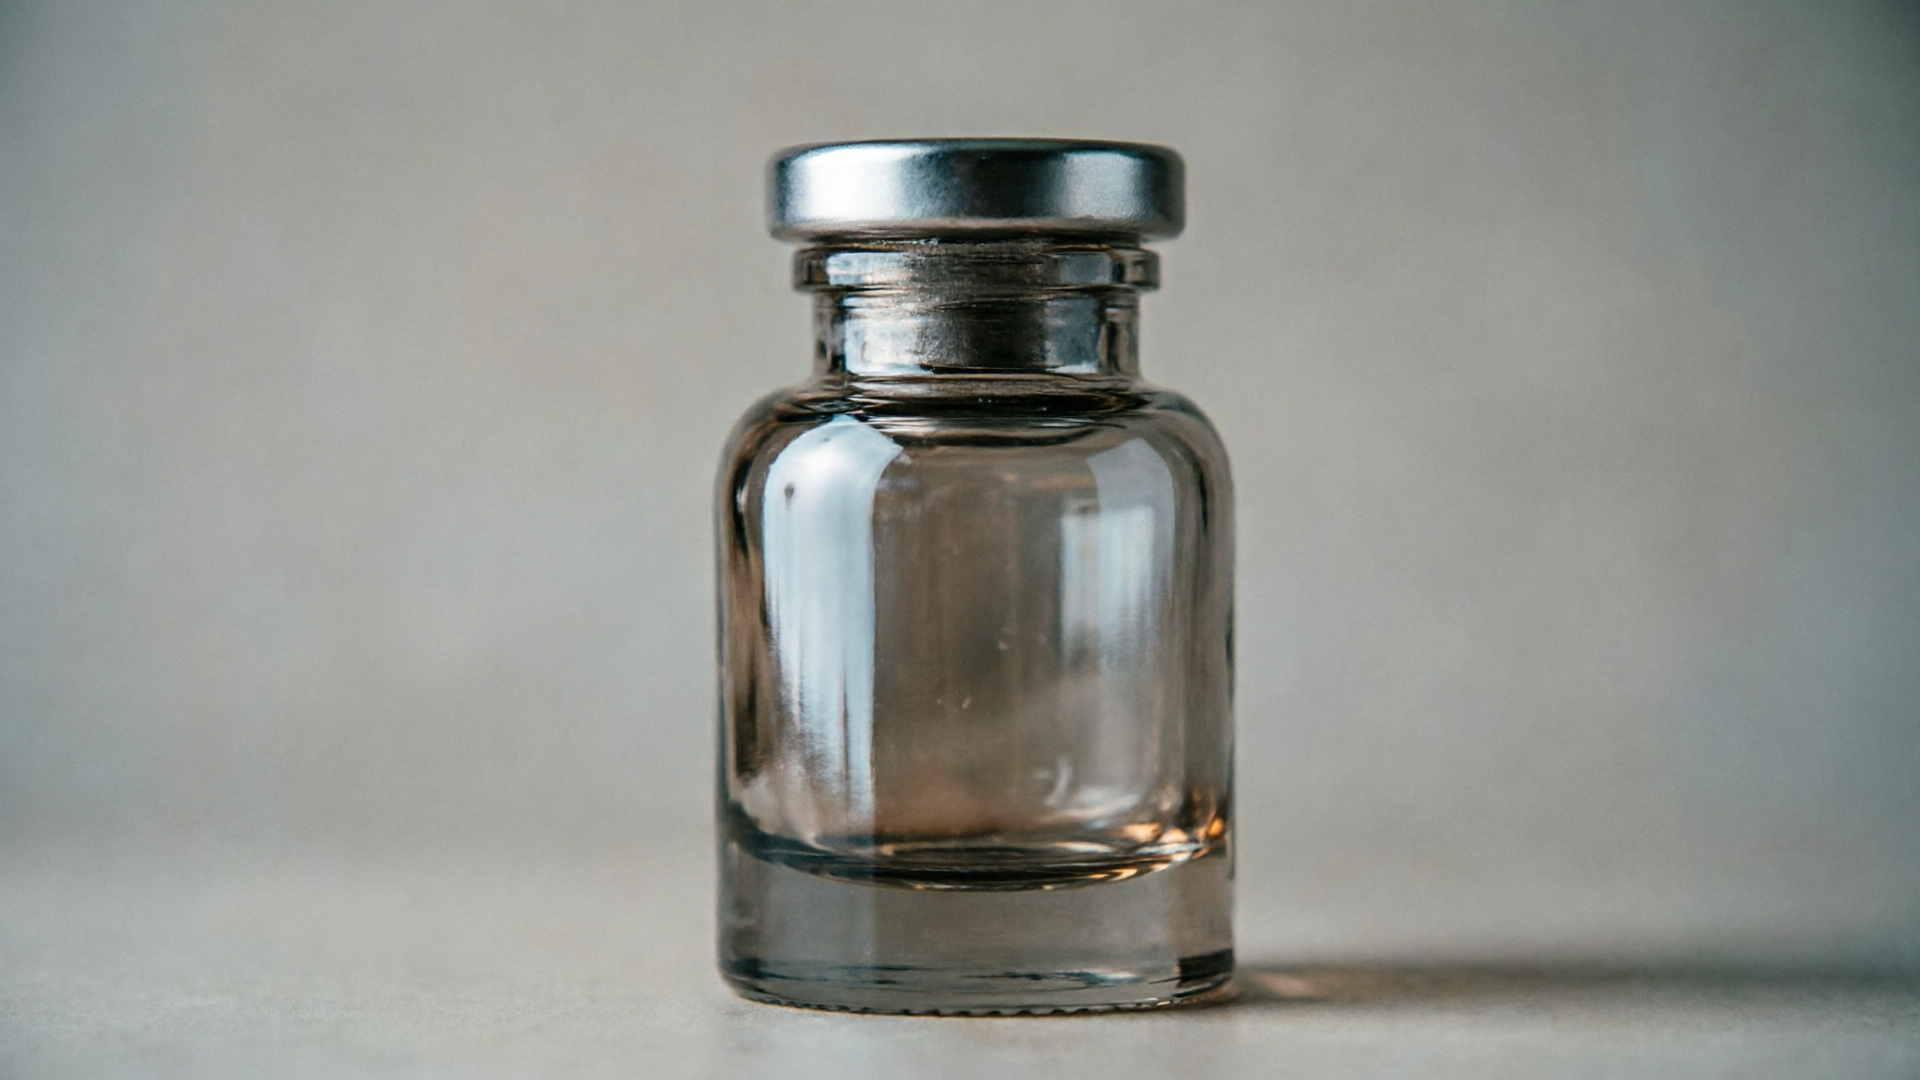
Short-form platforms reward immediate clarity: a strong image-to-video intro that hooks in the first 0–3 seconds will decide whether viewers scroll or stay. This guide shows ecommerce marketers and creators how to turn a single product photo or thumbnail into multiple vertical 9:16 intro clips, and why the WowMade AI Video Generator is the fastest way from idea to export. You’ll learn framing, prompt recipes, timing beats, and a concrete walkthrough for shipping 10–15s intros.
Why 9:16 intro clips (from a single image) are critical for short‑form distribution — metrics and creative best practices
Short‑form video is the top ROI format for marketers; HubSpot’s recent video marketing report shows marketers plan to invest most heavily in short‑form formats and that they deliver the highest ROI among video formats. That makes vertical 9:16 intros the default delivery format for Reels, TikTok and YouTube Shorts. Platforms favor full‑screen assets, and viewers respond faster to tight, readable hooks that fill the device screen.
Using a single image as the source for multiple intros is a pragmatic creative strategy for small teams: it preserves brand consistency, reduces production overhead, and speeds A/B testing. Many tools and tutorials explicitly recommend starting with either a 9:16 source image or setting the output to 9:16 to avoid awkward crops and composition loss during generation; setting the target aspect ratio early saves time downstream and ensures the subject stays on model.
Creative best practices for a 10–15s intro (a structure adapted from recent seedance prompts and platform guidance):
- 0–3s: tight detail or macro close‑up that reads at a glance — this is your hook.
- 3–8s: reveal with parallax, push‑back, or a smooth dolly‑out to show the product in context.
- 8–12s: quick feature line or tagline — keep text short and legible.
- 12–15s: return to a hero still with negative space for captions or CTA overlays.
Framing for vertical delivery matters: place your primary subject on the vertical centerline and leave 10–15% headroom. This lets motion (parallax, scale) move without clipping essential details. Finally, plan for captions and platform UI: avoid placing critical text or small logos where the platform controls might overlay (bottom center on TikTok, for example).
Preparing the perfect source image & prompt: framing, background, and prompt recipes that avoid common artifacts
A clean, high‑contrast product photo with a neutral background dramatically reduces motion artifacts in image‑to‑video generation. Tutorials show harsh shadows and reflective surfaces are frequent sources of motion artifacts; the simpler and flatter the background, the more predictable the generated motion will be. If your photo has reflections, specular highlights, or complex shadows, either edit them out or supply an edited reference before generation.
Image prep checklist:
- Crop to 9:16 (or shoot wide and reframe) with the subject vertically centered.
- Remove or soften deep shadows and strong reflections in an image editor.
- Convert complex patterns into a neutral backdrop if possible (clone‑stamp or content‑aware fill works).
- Export a high‑resolution PNG or JPEG (minimum 2MP recommended) to preserve detail.
Prompt recipes that reduce drift and artifacts:
- Anchor the subject: include phrases like “preserve product appearance, exact colors, no distortion.” This keeps the item on‑model.
- Motion instructions: be specific—“subtle parallax, slow dolly out 3–8s, slight clockwise rotation 1–2 degrees.” Avoid vague verbs like “dynamic” which can produce unpredictable motion.
- Lighting and quality: “soft studio light, no harsh specular highlights, photorealistic, high detail.” That discourages the generator from inventing lens flares or unrealistic reflections.
Example prompt (image anchored): "Use this product photo as reference; keep product colors and proportions exact. Create a 9:16 vertical clip: 0–3s tight macro detail on product texture, 3–8s smooth parallax dolly out revealing product on neutral backdrop, 8–12s hold with tagline overlay, 12–15s return to hero with negative space. Lighting: soft studio light, no harsh reflections. Motion: subtle depth parallax, max scale 1.08, gentle easing."
Keeping the prompt structured and time‑coded (as above) gives the model clear constraints so you avoid the common artifacts that happen when the generator is left to decide pacing and camera moves on its own.
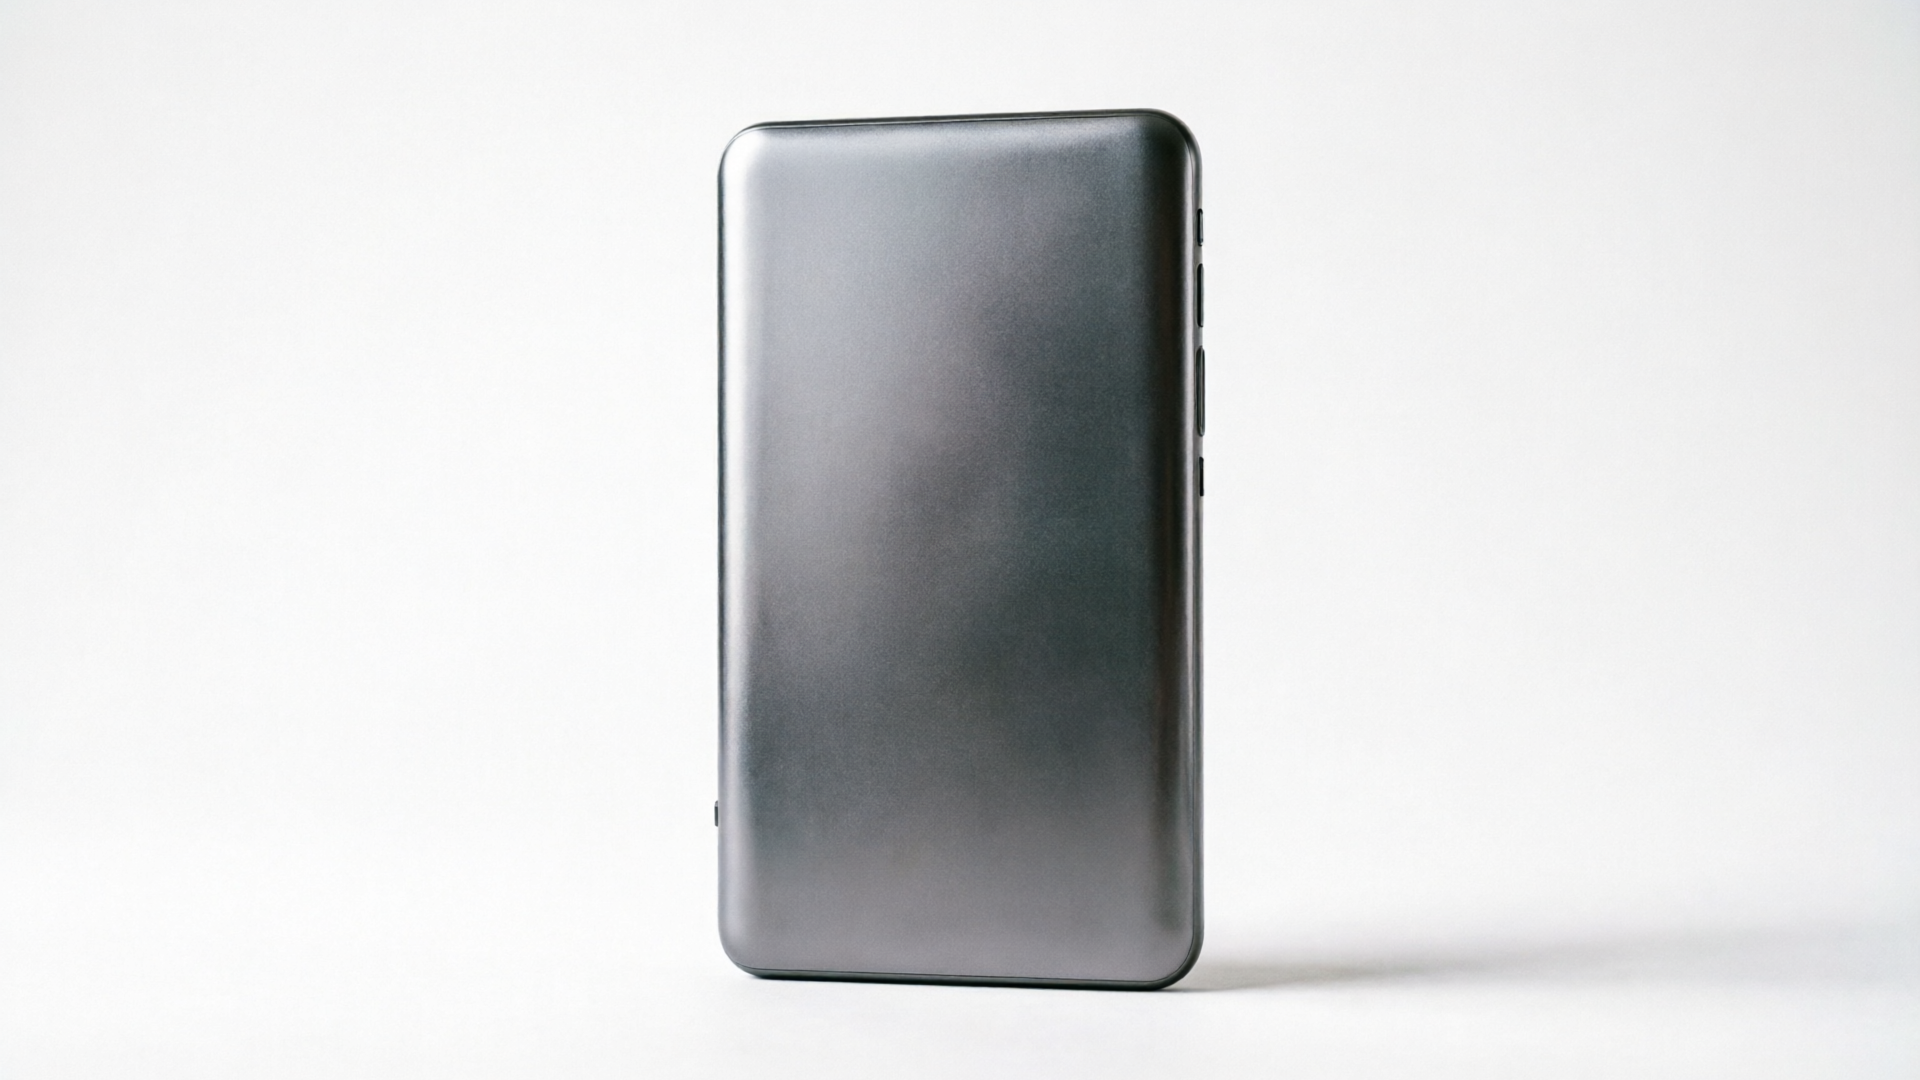
Step‑by‑step workflow: Turn one product photo into a 9:16 cinematic intro (hands‑on, includes timing, motion, and sound cues)
This section walks through a practical, repeatable workflow you can execute in under a few minutes once your source image is prepped. The example uses the image‑to‑video capability in the WowMade AI Video Generator to keep the subject on‑model while exporting vertical 9:16 clips.
Worked example: create a 12s product intro from a single photo 1) Prep and upload
- Crop your product photo to 9:16 (portrait). Save as high‑quality PNG. Remove heavy reflections. (If you prefer, use the WowMade AI Image Generator to retouch before importing: /create-image.)
2) Choose image‑to‑video in WowMade AI Video Generator
- In the generator, select "image-to-video" mode and upload the reference PNG. Set output to vertical 9:16.
3) Paste a time‑coded prompt (use the recipe from the previous section)
- Example prompt to paste: "0–3s: extreme close up on product texture; 3–8s: smooth parallax dolly out revealing full product; 8–11s: tagline hold ("Lightweight. Built to last.") with soft vignette; 11–12s: return to hero with negative space. Lighting: soft studio, no specular highlights. Preserve product color and shape exactly."
4) Set motion parameters and credits
- Use subtle motion: maximum scale 1.08, rotation 0–2 degrees, easing both in and out. The WowMade AI Video Generator lets you iterate on the same prompt and keep tweaks (credits apply when you re‑render).
5) Add sound cues
- For a short intro, keep audio minimal: intro click or metallic micro‑swish at 0.3s, ambient pad from 3–11s, and a subtle pop on the 11s return. You can generate a short loop with WowMade AI Music Generator and drop it into the clip for a consistent brand sound: /create-music.
6) Render and review
- Render a draft (renders in minutes). Check for artifact issues: motion ghosting, mismatched color, or subject distortion. If the product looks off, tighten the prompt anchor line and re‑render.
7) Export sizes and caption safe versions
- Export the final as 9:16 for Reels/TikTok/Shorts and also export a 1:1 crop for Instagram feed using the same prompt but choose different framing output in the generator.
Timing and motion cues to keep in mind
- Use subtle motion for product shots. Strong camera moves can amplify artifacts.
- Keep parallax depth small (20–40% perceived depth) to avoid limbs or product edges shearing.
- For a 10–15s clip, keep the most valuable visual information in the first 3 seconds. Use the middle section to breathe and reveal context.
This workflow emphasizes iteration: generate a draft, adjust one constraint (scale, lighting or color anchor), and re‑render. With the WowMade AI Video Generator you can keep iterating on the same prompt and produce multiple variants quickly.
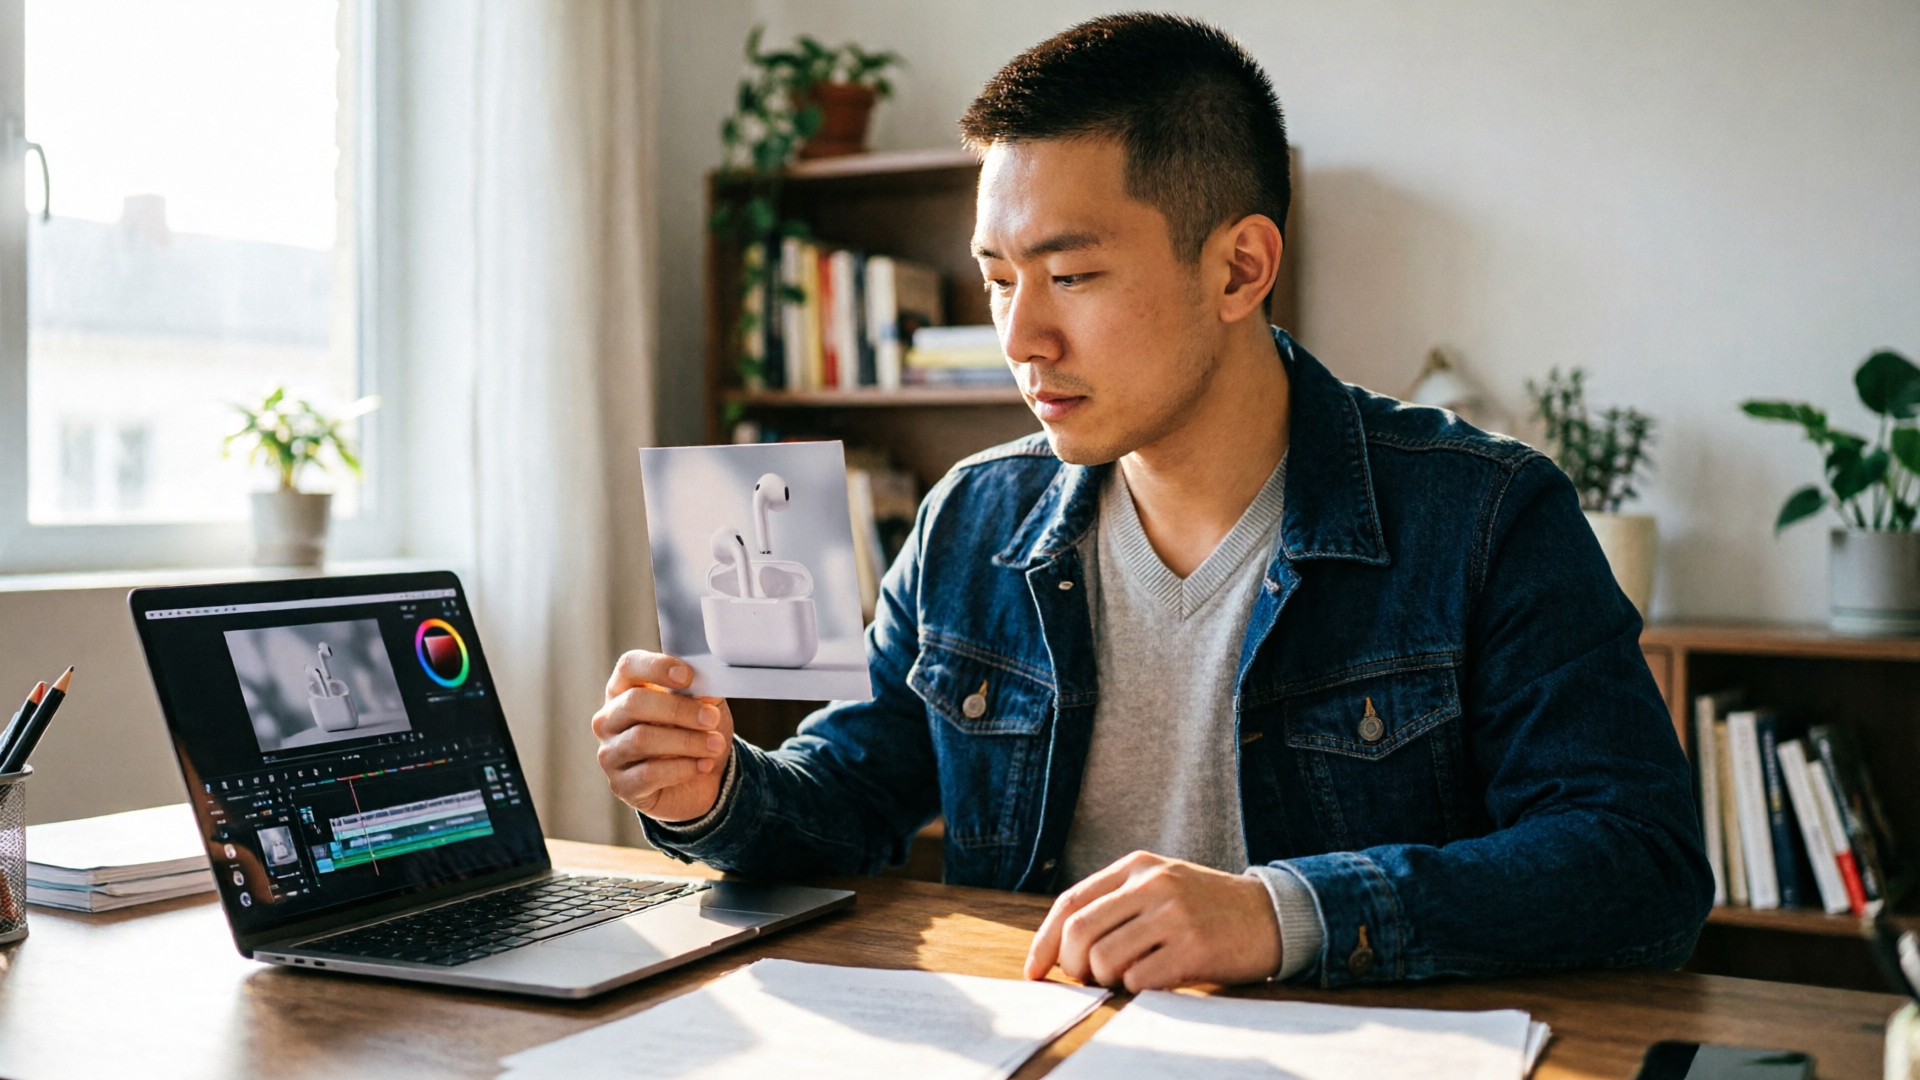
Batching and A/B testing intros at scale: generate variants, export sizes, and measure what hook works (hands‑on workflow)
Once you’ve validated a single intro, batching variants is the fastest path to learning which hook converts. The goal is to generate clear variations that isolate one variable: crop, motion intensity, text, or audio.
Batching strategy
- Start with 3 control parameters to vary: framing (close/mid/wide), motion (still/subtle/strong), and hook text (benefit/feature/curiosity). That gives 3×3×3 possibilities; pick 9 core variants for an initial test.
- Use the same source image and a slightly modified prompt for each variant. For example, change only the first 0–3s instruction to be either “macro texture close‑up,” “product label close‑up,” or “logo reveal.”
Hands‑on: creating 9 variants fast 1) Duplicate your base prompt into a spreadsheet and create nine rows with the single change you want to test per row. 2) In WowMade AI Video Generator, upload the same image and run each prompt as a separate render. Because the generator supports vertical 9:16 and keeps the subject on‑model, each variant preserves brand accuracy while changing the hook. 3) Export each render with a consistent filename and export both 9:16 and 1:1 crops if you plan to reuse assets across placements.
A/B test setup and measurement
- Test for short‑form KPIs: view‑through rate (first 3s view retention), click‑through (if running ads), and saves or shares for organic.
- Run each variant with small but statistically meaningful sample sizes (e.g., 500–2,000 impressions per variant on the platform) and measure which hook retains viewers beyond the 3s mark.
- Use platform analytics and a third‑party UTM tagging approach if you need cross‑platform attribution. Keep your test duration short (3–5 days) to iterate quickly.
Speed and cost considerations
- Because modern workflows (shown in recent 2026 tutorials) can produce a 5–15s vertical clip from a single image in minutes, you’ll be able to generate dozens of variants in a single afternoon.
- Prioritize tests that cost you impressions but promise clear learnings: headline vs visual hook, not minute aesthetic shifts. When you find a winner, scale that version and then run a secondary test on audio or caption wording.
If you need quick retouching or different product colorways before batching, the WowMade AI Image Generator is a natural complement: create color variants and re‑use the same image‑to‑video prompt for each colorway (/create-image).
How WowMade AI Video Generator fits into this workflow — when to use image-to-video vs text-to-video and next steps
WowMade AI Video Generator is purpose‑built for the exact use cases covered above: it generates short‑form AI videos from a text prompt, animates a single still image into motion, outputs vertical 9:16 (and 1:1 or 16:9) framings, and lets you iterate on the same prompt while keeping the subject on‑model. Mentioning it early: the WowMade AI Video Generator is the quickest route from a prepared product photo to a shareable 10–15s intro.
When to use image‑to‑video vs text‑to‑video
- Image‑to‑video: use this when brand accuracy matters — product demos, landing page loops, or any clip where the exact appearance of the product must be preserved. The image‑anchored pipeline reduces drift and keeps the subject on model, which is essential for ecommerce creatives.
- Text‑to‑video: use text‑to‑video when the opener is conceptual or when you want creative elements that aren't tied to one product image — for example, abstract motion backgrounds or story‑mode openers that don’t show the product exactly. Text‑to‑video can drift from product specifics, so it’s less suited for product fidelity.
Concrete WowMade workflow recommendations
- Use image‑to‑video in WowMade AI Video Generator for your primary hook variants. Upload the reference image, set output to 9:16, and paste a time‑coded prompt. Iterate until the rendering preserves color and proportions.
- For audio, generate short brand loops in WowMade AI Music Generator and pair them with each intro to test audio hooks (/create-music).
- If you need to retouch or create alternate product colorways, use the AI Image Generator first and then re‑use the same image‑to‑video prompt with each new image (/create-image).
Proof points and speed: the WowMade AI Video Generator renders short clips in minutes, supports multiple outputs from the same prompt, and preserves the subject of your photo so you can run consistent tests across platforms. That combination lets small teams move from one product photo to a campaign of tested vertical intros in an afternoon rather than days.
Next steps for your first run
- Pick one hero product photo, crop to 9:16, and write a tight 12s time‑coded prompt (use the examples earlier in this article).
- Open the AI Video Generator and run a short draft to confirm the model preserves product color and shape.
- Iterate on motion and audio, then batch nine variants for an A/B test.
For an outside reference on turning photos into videos and reducing artifacts, see Renderforest’s practical guide: https://www.renderforest.com/blog/how-to-turn-photo-into-video-with-ai.
Frequently Asked Questions
How long should my source image be cropped to 9:16 before upload?
Crop to portrait 9:16 with the product vertically centered and at least 10–15% headroom. This gives motion room without clipping.
Can I change the product color after generating the video?
Yes — create a color variant with an image‑editing step or the AI Image Generator (/create-image), then reuse the same image‑to‑video prompt to render a new clip.
Will 3–5s drafts be fast enough to iterate?
Yes. Modern generators, including WowMade AI Video Generator, render short drafts in minutes; iterate on one constraint per pass for fastest learning.
Should I test different audio with each visual variant?
Test visual hooks first, then run a secondary test on audio. Use short loops from /create-music to keep tests controlled.
Conclusion
You can turn one strong product photo into a battery of vertical 9:16 intros that perform across Reels, TikTok and Shorts by preparing the image, time‑coding your prompt, and iterating quickly. Use image‑to‑video when fidelity matters and reserve text‑to‑video for conceptual openers. For speed and consistency, open the AI Video Generator, upload your image or paste your time‑coded prompt, and ship a vertical intro in minutes.