Moodboard to Images: A Practical Workflow for On‑Brand Thumbnails and Hero Art
Convert moodboards into on‑brand images and thumbnail variations with an efficient AI workflow — from brief to export using WowMade's AI Image Generator.
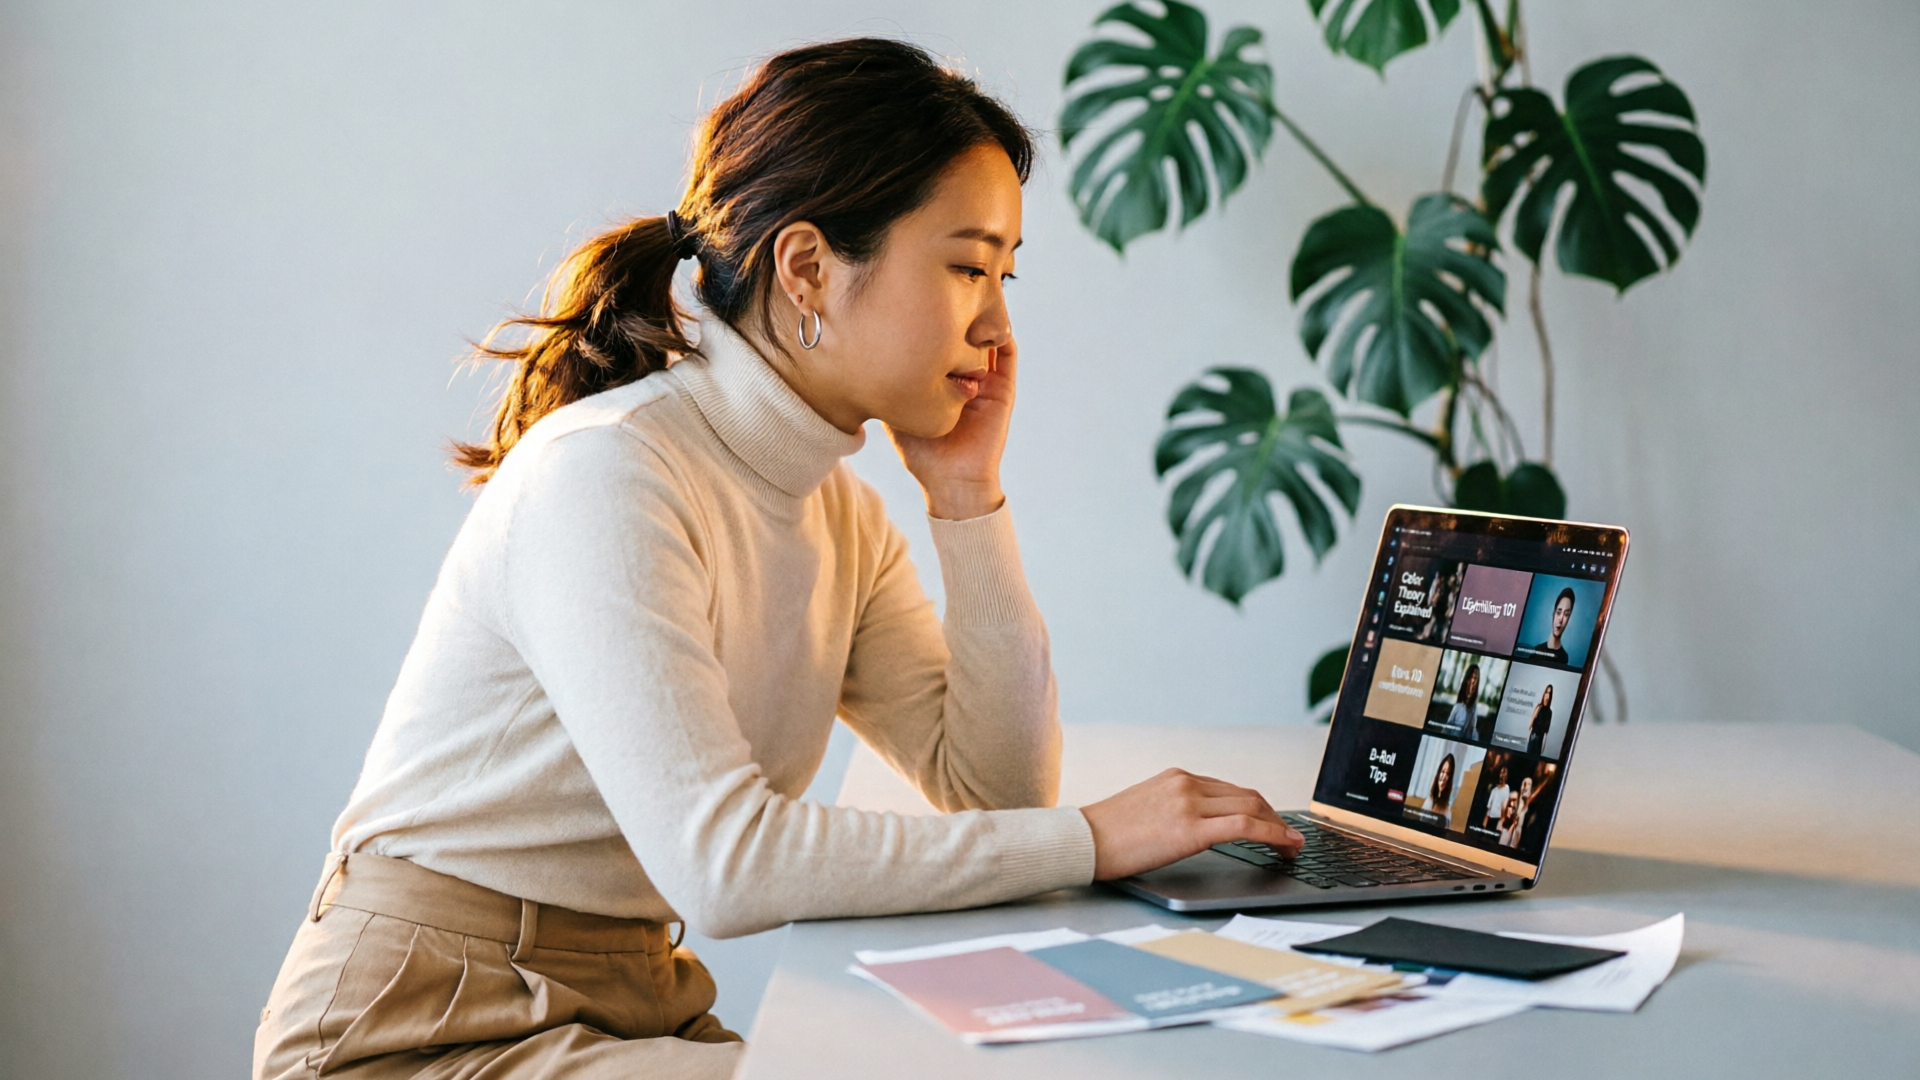
You’re staring at a folder of screenshots, a color swatch from the brand kit, and a handful of reference thumbnails that performed well last quarter. Turning those fragments into a consistent set of thumbnails and hero frames—fast enough to test—shouldn’t mean a week of back-and-forth with a designer. That’s where a focused moodboard-to-images workflow wins: it turns visual intent into reproducible assets you can A/B test. In this article I’ll walk you through a practical, repeatable process for going from a moodboard to images that perform—covering what to include in a lightweight brand brief, how to translate color and composition into model‑friendly prompts, and how to generate targeted image variations for thumbnails and hero art.
Along the way I’ll show concrete steps using WowMade AI Image Generator so you can create, edit, and export on‑brand assets without rebuilding from scratch. You’ll learn how to produce multiple aspect ratios in one pass, remix reference photos in place, save variations into a library, and feed final stills into video timelines or ad creatives. By the end you’ll have a hands‑on workflow for predictable, testable visuals that stay true to brand while unlocking the speed of AI.
Why starting from a moodboard produces more consistent, on‑brand images (and the research behind it)
A moodboard functions like a visual brief: it collects signals the brain and a model can follow—colors, type of subject, lighting, and composition. When you hand a model a clear set of references (logos, palettes, and reference shots), you’re constraining the solution space. That makes outputs more consistent across runs and easier to iterate.
Practically, creators who skip a moodboard often get results that feel scattershot: one image too warm, another with an awkward crop, a third with an off‑brand tint. Tools and workflows aimed at branded generation—like MoodyBoards and Scenario—show that uploading brand artifacts improves the fidelity of on‑brand outputs because the model has concrete anchors to reproduce (logos, palettes, and textures). Those platforms emphasize the same idea every designer knows: give the system examples and it will generalize them.
From a technical point of view, modern conditional diffusion and paired image pretraining underpin controlled variation: models can preserve structure from references while producing stylistic alternatives (arXiv.org). That means you can expect a reliable base composition and then generate many stylistic takes—exactly what you need for thumbnail A/B tests.
Pull‑quote: “A small, clear moodboard reduces iteration waste—your first 8 images will be useful, not random.”
The practical takeaway: start with a moodboard so the first pass of AI outputs gives you testable assets instead of noise. It’s faster, cheaper, and more predictable—especially when you plan to produce multiple aspect ratios and variations for ads and platforms.
Build a lightweight brand brief and moodboard that AI can reliably interpret — what to include and why
A moodboard doesn’t need to be exhaustive. Aim for a one‑page visual brief that gives the AI three classes of inputs: identity anchors, visual rules, and examples.
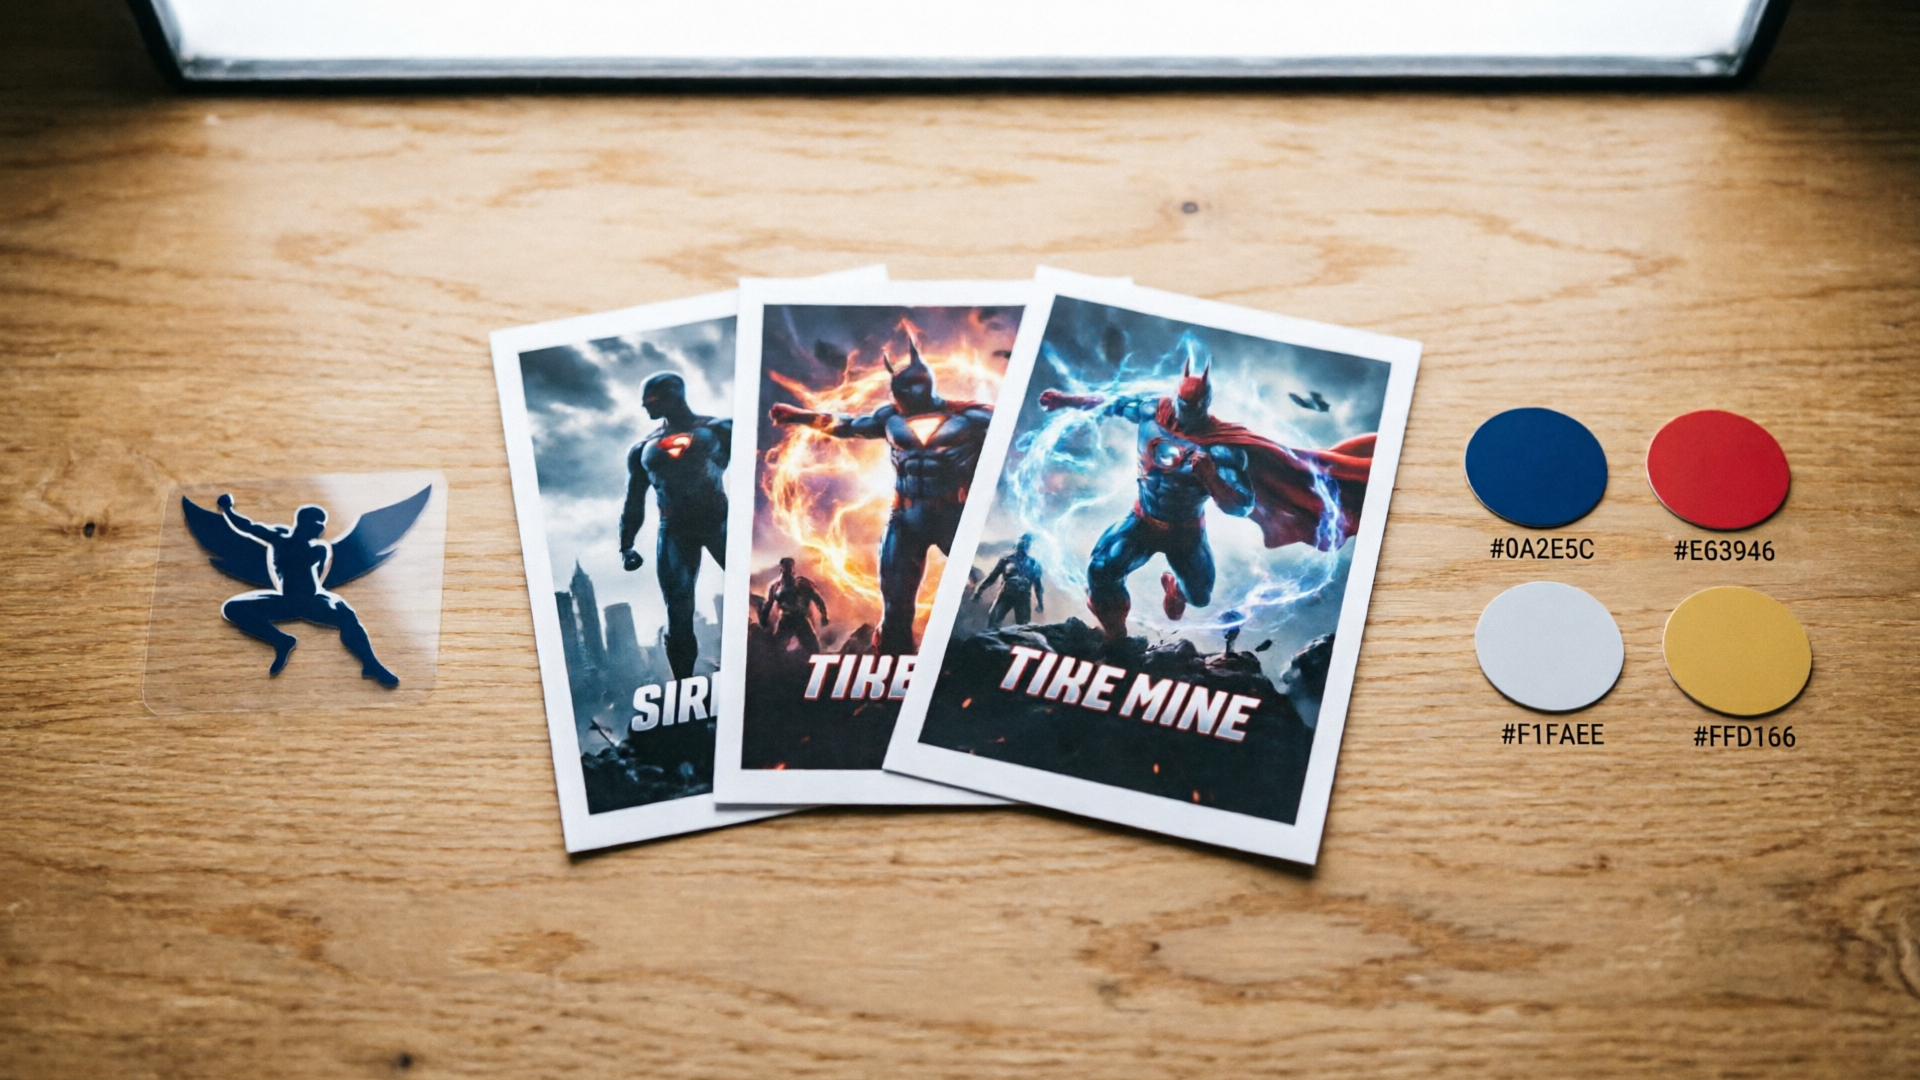
- Identity anchors (must include): logo files (transparent PNG/SVG), primary and secondary hex colors, and one example font or a short description of typography (e.g., “bold condensed sans for headlines”). These elements set brand DNA the model can reference when re‑styling.
- Visual rules (must include): preferred composition (close subject, headroom percentage, centered text-safe area), lighting mood (soft morning light, high‑contrast studio rim light), and text hierarchy rules (headline short, 2–3 words; secondary line optional). These rules reduce ambiguity in prompts.
- Examples (must include): 4–8 reference images that represent the look you want—high and low performers. Include one top‑performer thumbnail, one product closeup, and one abstract background or texture. If you have a brand photo, include it.
Why these items matter: logos and colors anchor brand identity; composition rules produce consistent crops across aspect ratios; example images give the model concrete stylistic targets. Tool roundups and creator guides from 2026 confirm this: AI thumbnail tools are fast, but creators still need a brand brief to get consistent outputs and avoid redoing generations.
Practical tip: export your brief as a single ZIP or folder so you can drag it into an image generator in one go. When using WowMade AI Image Generator, upload the logo and at least one reference photo in the same session—that lets you use edit‑in‑place without rebuilding prompts from scratch.
Tip: Keep the brief intentionally small—3–6 items. Too many references cause the model to average everything and lose the look you want.
From moodboard to prompts: translating color, lighting, and composition into model‑friendly input
Prompts are the bridge between your moodboard and the generator. A good prompt is specific about the visual rules without micromanaging every pixel. Break prompts into three parts: anchor, style, and output constraints.
- Anchor: mention the subject and brand artifacts. Example: “Close‑up portrait of host with logo in lower right, warm skin tones matching #D94E2A.” This tells the model subject, placement, and palette.
- Style: describe lighting, mood, and photography style. Example: “high‑contrast rim light, cinematic 50mm, shallow depth of field, bold contrast, saturated colors, clean editorial retouch.”
- Output constraints: state aspect ratio, text-safe area, and any overlay space. Example: “16:9 crop, leave 25% left margin for title text, export at 1920x1080.”
Combine into a single prompt: “Close‑up portrait of host with logo in lower right, warm skin tones matching #D94E2A; high‑contrast rim light, cinematic 50mm shallow depth of field, bold contrast and saturated colors; 16:9 crop, leave 25% left margin for title text; editorial retouch.”
When translating color from a moodboard, add simple color references (hex codes or “teal accents”) rather than poetic descriptions—models understand explicit codes better. For composition, use measurable language: “center subject, headroom 10%” or “text‑safe area on the left 25%.” These constraints help the generator output images that require less manual crop work later.
Worked example (prompt for WowMade AI Image Generator):
- Upload brand logo and a high‑res brand photo to the session.
- Prompt: “Host portrait — confident expression, warm tones matching #D94E2A and #0B2545; high‑contrast rim light, cinematic 50mm, shallow depth of field; bold color grade; 16:9 hero crop with 25% left text‑safe area; place logo lower right; editorial retouch.”
- In the generator, choose “Generate” and request 6 variations across the same prompt and export at 1920×1080.
This method produces consistent first‑pass assets and makes subsequent constrained edits straightforward.
Generate image variations for thumbnails and hero art: a step‑by‑step AI workflow
Generating variations is where AI delivers speed. The goal: multiple testable options that share composition but vary key attention drivers (color, crop, facial expression, text treatments). Here’s a repeatable workflow using WowMade AI Image Generator.
Step‑by‑step workflow:
- Prepare: open your one‑page brief and the selected reference photo(s). Decide the test matrix: e.g., two color grades (warm/cool) × three subject crops (tight/medium/wide) × two text treatments = 12 variants.
- Upload: drag logo and reference photo(s) into the WowMade AI Image Generator session and set the base aspect ratio (16:9 for YouTube, 1:1 for social). The generator can output multiple aspect ratios in one pass—use that to save time.
- Prompt and seed variations: use the prompt structure from the previous section. In WowMade, request 6–12 variations and toggle “Save variations to library.” This lets you keep iterations organized.
- Constrained edits: pick the best base and use edit‑in‑place to change only color or crop. Because WowMade supports editing uploaded photos with a prompt, you avoid rebuilding the whole image.
- Export: download each variant at the required resolution and naming convention (e.g., thumbnailWARMtight_01.jpg).
Why multiple variations matter: CapCut and other creator tools list image‑variation workflows as a standard part of content production—AI lets you transform one idea into several testable executions quickly. Produce many options, then select top candidates for quick CTR tests.
Blockquote-tip: "Create a small testing matrix (6–12 variants). Too few variants miss signal; too many dilute your testing bandwidth."
Rapid on‑brand iteration: using reference remixing and constrained edits to keep assets consistent
Speed matters, but consistency is the real win. Two generator capabilities make this possible: reference remixing and constrained edits.
Reference remixing means you feed the model a base photo and ask for stylistic changes while preserving structure—facial position, background elements, and logo placement. Academic work on conditional diffusion confirms this is feasible at scale: models can maintain structure while diversifying style. In practice, start from a single best base image, then remix it into different color grades, textures, and typographic overlay ideas.
Constrained edits limit the scope of change: color shifts, background blur, or clothing recolor rather than re‑composing the entire frame. When you use WowMade AI Image Generator’s edit and restyle features, you iterate on the same photo so later variations are variations, not unrelated images. That makes brand consistency effortless—every output carries the same composition and reference anchors.
Operational tips:
- Versioning: save each iteration to the WowMade library with a clear tag (e.g., "thumbWARMv2").
- Minimal prompts: for edits, shorten the prompt to only the change: "apply cool teal grade, increase contrast, keep logo position".
- Keep crop templates: save the aspect ratio and text‑safe settings as a template so the generator applies the same margin across variants.
This approach reduces wasted generations and keeps the assets cohesive—critical when you’ll be running multivariate thumbnail tests.
Testing thumbnail variations: quick experiments that move CTR (what metrics to track)
A thumbnail’s job is to get clicks. Treat it like an experiment: create a hypothesis, pick a metric, and run a controlled test.
Metrics to track:
- Primary: Click‑Through Rate (CTR) — YouTube thumbnails typically average 4–6% CTR, and strong thumbnails can double CTR for the same title and audience. Use CTR as your primary signal. (See Hooksnap’s thumbnail study.)
- Secondary: View‑duration lift and early watch percentage — changes in click quality. A very clicky thumbnail that brings poor retention may not help the content.
- Tertiary: Impression share and audience retention in the first 30 seconds — helps validate if the thumbnail reached the intended subgroup.
Experiment design:
- A/B test two thumbnails (control vs new) on the same video for a fixed time window or impressions. Don’t change the title or metadata.
- If you have enough traffic, test multiple variants (multi-armed bandit) and let the platform optimize. For smaller channels, sequential A/B tests work best.
What to test visually:
- Text hierarchy: short headline vs no text.
- Color contrast: warm vs cool grade.
- Focal subject: tight crop vs medium.
Practical note: run tests long enough to reach statistical relevance (or a stable CTR trend) and track retention metrics to ensure clicks are quality. Use your generated variants from WowMade AI Image Generator so every candidate shares the same composition constraints—this isolates the variable under test.
Export, polish, and repurpose: file sizes, aspect ratios, and how to feed images into video timelines
Getting a usable image out of the generator is just the start. Final polish and correct export settings ensure thumbnails and hero images look sharp in context.
File formats and sizes:
- Thumbnails: export as high‑quality JPEGs at platform‑recommended resolutions (YouTube 1280×720 recommended minimum). Export at 90–95% JPEG quality for a good balance of file size and fidelity.
- Hero images and landing art: export PNG for crisp logos and graphics, or high‑quality JPEG for photographic assets. For responsive hero banners, export multiple widths (1920, 1366, 1200) and use srcset.
Aspect ratios and crops:
- Use saved templates for 16:9, 1:1, and 9:16. WowMade AI Image Generator supports exporting the same prompt to multiple aspect ratios in a single pass—leverage that to avoid repeated cropping.
- Keep text‑safe margins consistent across crops so your headline doesn’t get cut on different platforms.
Polish and repurpose:
- Minor retouches: sharpen the subject, dodge/burn for depth, and add subtle vignette to focus attention.
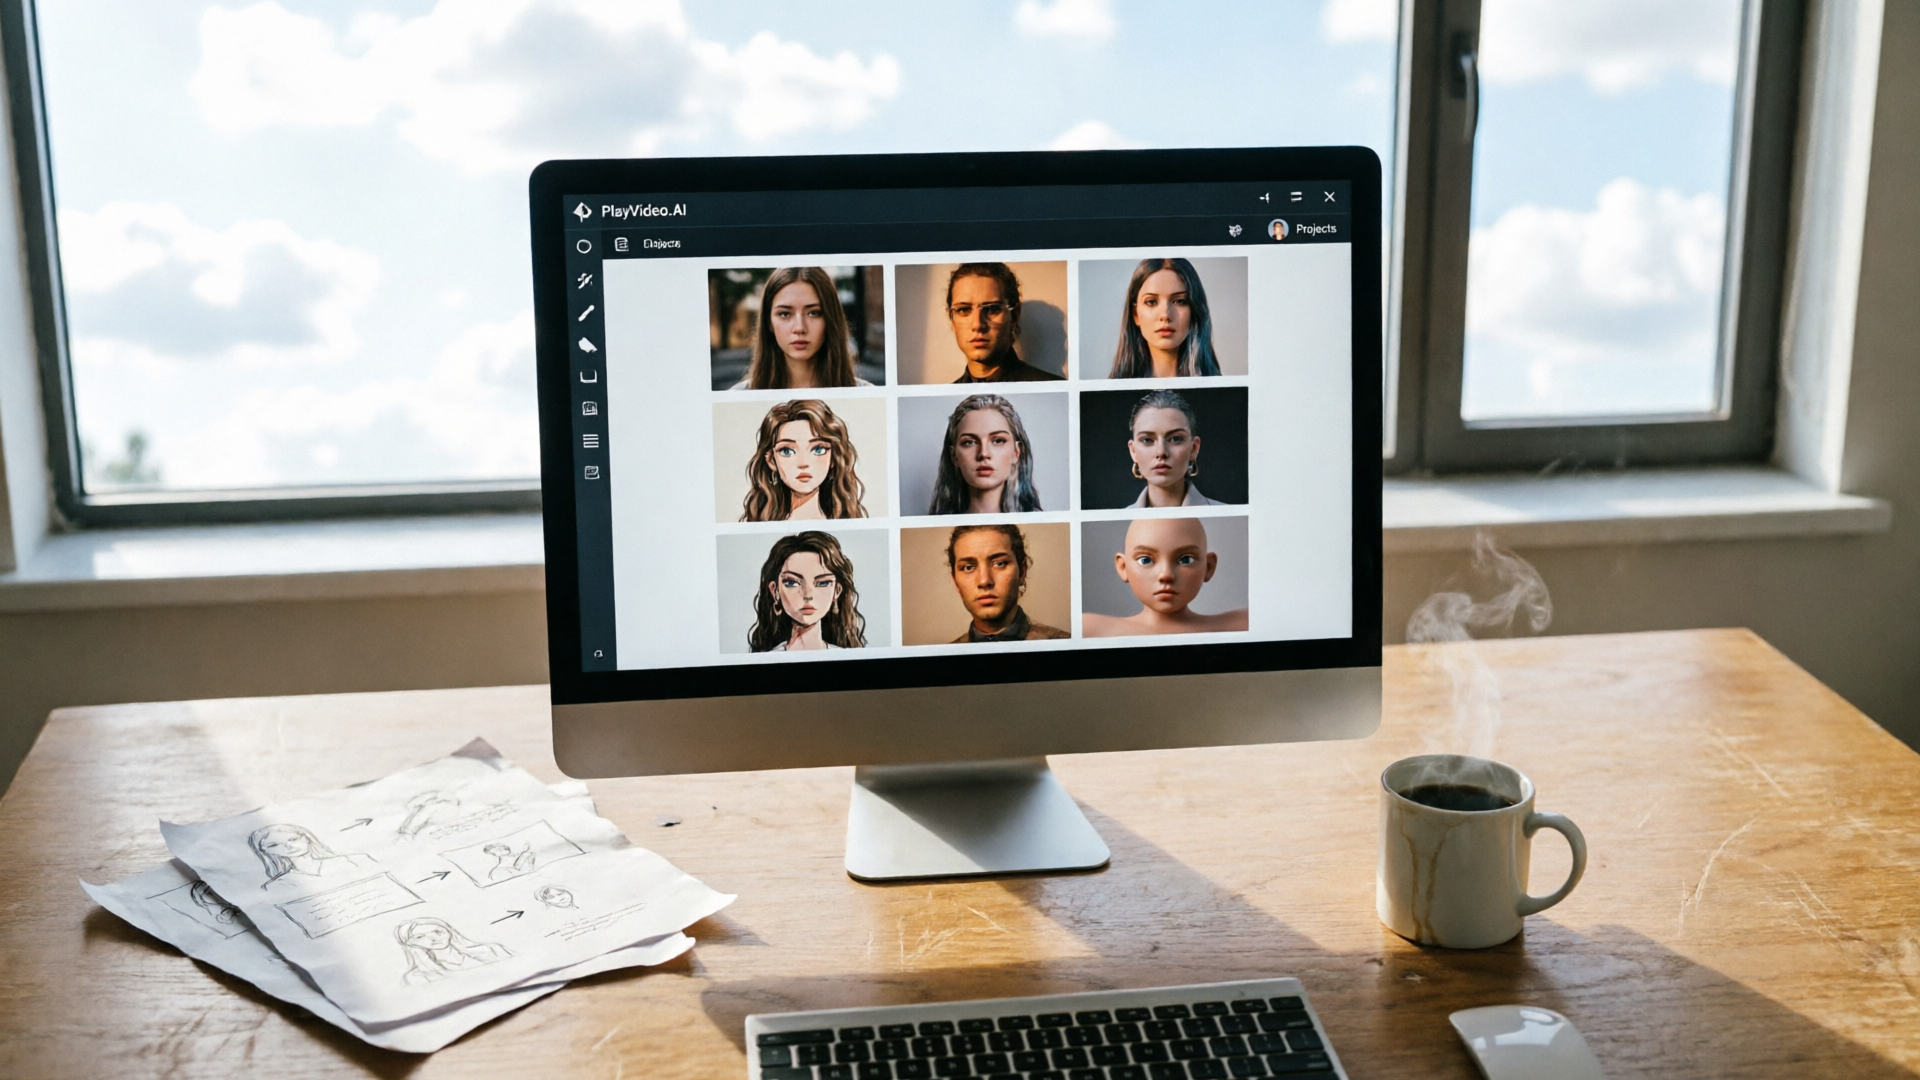
- Feed stills into video: WowMade’s workflow lets you export a still as a starting frame in the AI Video Generator so you can create short intros or animated thumbnails from the same asset. This preserves visual continuity between thumbnail and video content.
Naming and asset management: adopt a clear naming convention including campaign, aspect ratio, grade, and version—this reduces confusion when multiple variants are tested or repurposed for ads.
Why WowMade’s AI Image Generator is the right tool to finish this workflow (what it does differently)
When you need speed plus brand fidelity, WowMade AI Image Generator is designed for this exact workflow. It combines text‑to‑image creation with edit‑in‑place and multi‑aspect export so you don’t rebuild assets every time you change crop or grade.
Key capabilities that match the workflow:
- Generates images from a text prompt: craft prompts that map to your moodboard and get production‑quality thumbnails and hero art.
- Edits and restyles uploaded photos with a prompt: start from a brand photo and iterate instead of recreating the asset—this preserves composition and logo placement.
- Outputs at the aspect ratios social and ads platforms actually need: produce 16:9, 1:1, and 9:16 in one pass to support YouTube, Instagram, and short‑form ads.
- Saves variations to your library so you can iterate: versioning becomes part of the workflow instead of an afterthought.
Concrete walkthrough (quick):
- Upload your moodboard folder: logo, color swatch, two reference thumbnails.
- Enter a composed prompt that names the hex codes, lighting, and text‑safe margin.
- Request 8 variations and enable multi‑aspect export (16:9 and 1:1).
- Select the best version and use edit‑in‑place to apply a cool color grade and re‑export only the crop you need.
Because the Image Generator preserves structure during edits, you get consistent families of thumbnails that are ready for quick CTR testing. For creators who also want to animate those frames, the final stills flow directly into the WowMade AI Video Generator to produce short intros or animated thumbnails—keeping your visual language consistent across formats.
Supportive note: if you need soundtrack or voiceover for short promos built from your thumbnails, consider pairing these stills with WowMade AI Music Generator or AI Voices for fast, on‑brand audio that complements the visuals.
Conclusion
Converting a moodboard to production‑ready images is a repeatable skill: build a tight brief, translate visual rules into measurable prompts, and iterate with constrained edits. Use a small testing matrix to identify thumbnail winners quickly, then export consistent crops and feed the winning stills into video or ad creatives. WowMade AI Image Generator streamlines that final step: generate from prompt, edit in place, produce multiple aspect ratios in one pass, and save variations to a library so you can iterate without losing coherence.
Open the AI Image Generator and spin up your first on‑brand frame—refine the same prompt until the look is yours.