From Illustration to Short: A Creator’s Guide to AI Lipsync Effect and Character Shorts
Step-by-step guide to turning single images and illustrations into platform-ready lip‑synced character shorts using WowMade AI Video Effects.
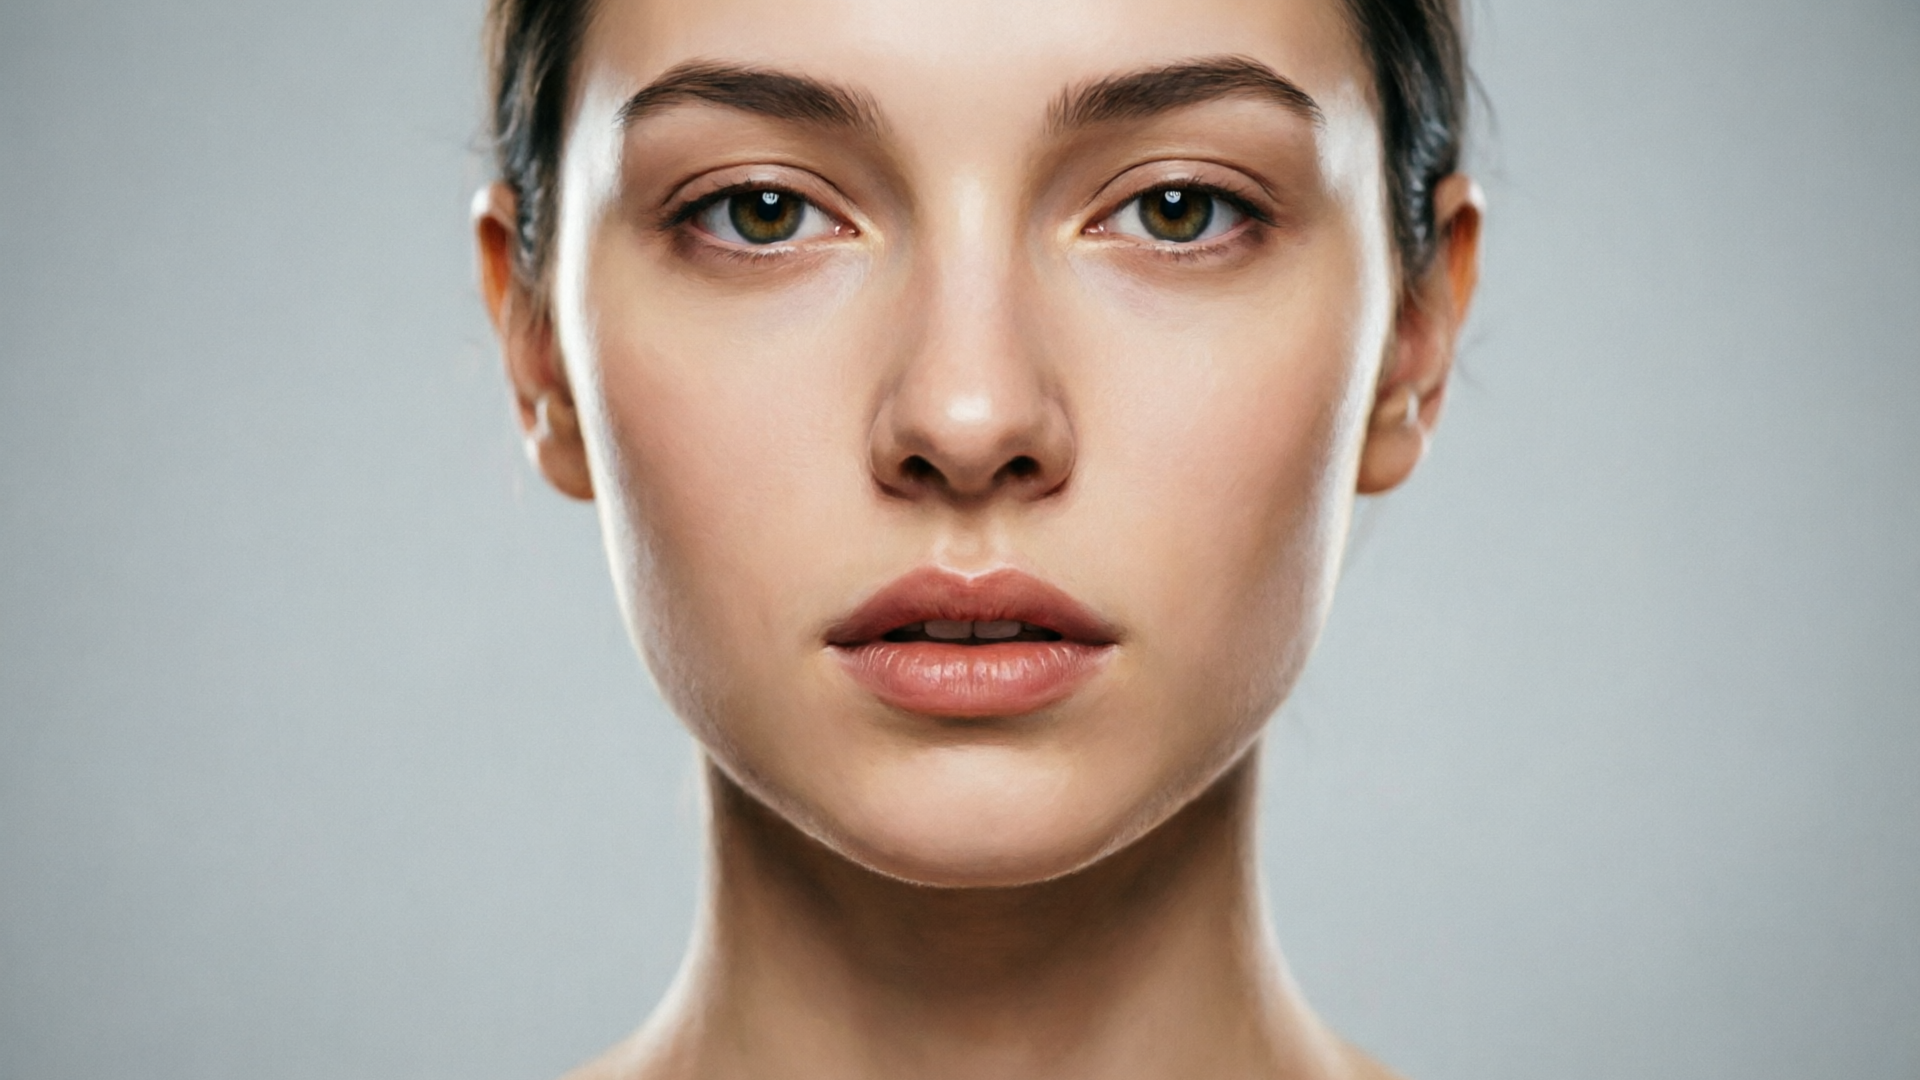
Short-form character videos live or die on believable timing and a clear mouth performance. If your goal is attention-grabbing animated shorts from a single illustration or selfie, using an AI lipsync effect is the fastest, most reliable path to publish-ready clips. This guide explains why audio-driven lip sync matters for social video and shows hands-on workflows that use WowMade AI Video Effects to turn a single image into a 9:16 talking clip in minutes.
You’ll get a concise walkthrough, practical design rules for illustrations, and advanced tweaks for emotion and pacing. The article references how modern models work, what they can’t do, and two working WowMade workflows (one quick, one advanced) so you can ship polished character shorts without hiring animators.
Why accurate lip‑sync and facial timing matter for short-form character videos
Short-form platforms reward immediate clarity. A viewer decides within the first 1–3 seconds whether a clip is worth watching. For character shorts and talking avatars, that clarity comes from synchronized lip motion and believable facial timing: when speech aligns with visible mouth shapes and micro‑expressions, the brain treats the character as intentional and expressive rather than glitchy or robotic.
Accurate lip‑sync also supports narrative economy. In 15–30 seconds you don’t have time for slow build. Good timing makes punchlines land, improves emotional valence, and increases retention. Creators who adopt an AI lipsync effect for single-image videos routinely report the productivity boost most tutorials note: you can "generate lip‑synced content in minutes rather than hours." That speed matters when you’re iterating thumbnails, hooks, and captions for TikTok or Reels.
Finally, mismatched audio and lip motion breaks immersion quickly. Even small timing offsets (50–150 ms) are perceptible and lower share rates. If your goal is repeatable, platform-ready output, prioritize a workflow and tools that produce tight mouth timing and natural jaw/brow movement — exactly what WowMade AI Video Effects is built to deliver with one-photo, vertical-ready presets.
How modern audio‑driven facial animation works (key models and limits creators should know)
The current generation of audio-to-face systems rests on two building blocks: extractive audio encoders that pull phonetic and emotional cues from sound, and generative image models that map those cues into facial motion. Survey papers show systems extract phonetic features (visemes), prosody, and sometimes emotional markers from waveform inputs, then synthesize lip shapes, jaw motion, and eyebrow movement to match the audio stream. See the survey for a technical overview: Audio‑Driven Facial Animation with Deep Learning.
Research developments such as Wav2Lip‑HR demonstrate that high‑resolution talking heads can be generated from a single image plus audio, producing noticeably clearer mouth regions than earlier approaches. More recent diffusion-and-transformer-based approaches (OmniSync, LatentSync, MILG) focus on long-duration consistency and preserving identity across frames — the same advances that make today’s one-click effects more reliable than older models.
That said, there are known limits creators should expect. Models are typically trained on datasets of real human faces and natural speech, so very stylized, heavily textured, or abstract illustrations can confuse face detectors and lip predictors. Community reports and tool notes recommend frontal poses, clearly defined mouth regions, and iterative testing. When you understand these constraints, you can design images and choose audio that maximizes the effect — rather than fighting unpredictable outputs.
Designing illustrations for reliable lip‑sync: visual tips that improve results
Successful lipsync-ready illustrations share a handful of practical traits. Apply these design rules before you upload an image to an AI lipsync effect:
- Clear mouth area: Define a distinct mouth shape (even a simple line or oval) with contrast against surrounding colors. Models need a visual anchor to map phonemes.
- Frontal or slight three‑quarter pose: Faces that are heavily angled or profile make mouth shapes ambiguous. Front-facing images yield the most reliable lip matches.
- Neutral-to-expressive baseline: Start with a neutral or mildly expressive mouth. Extreme stylization (tiny or no visible mouth) often fails; you can add expression later in the effect.
- High visual contrast and resolution: Provide a high‑resolution asset (1024 px or higher when possible). Clear edges and contrast help the model maintain identity while animating.
- Avoid occlusion: Hands, props, or heavy beards that fully occlude the mouth will reduce accuracy.
Design tweaks for stylized characters: if you work in vector or painted styles, create a small series of alternate mouth plates (closed, half, open) and keep them handy. If the automated result looks off, a quick swap and re-run often fixes timing. Many creators also use text‑to‑speech placeholders to nail timing before final voice replacement — a workflow recommended across tutorials and docs.
Tip: When in doubt, add a simple mouth guide layer in your illustration file. It takes minutes and increases successful lip alignment dramatically.
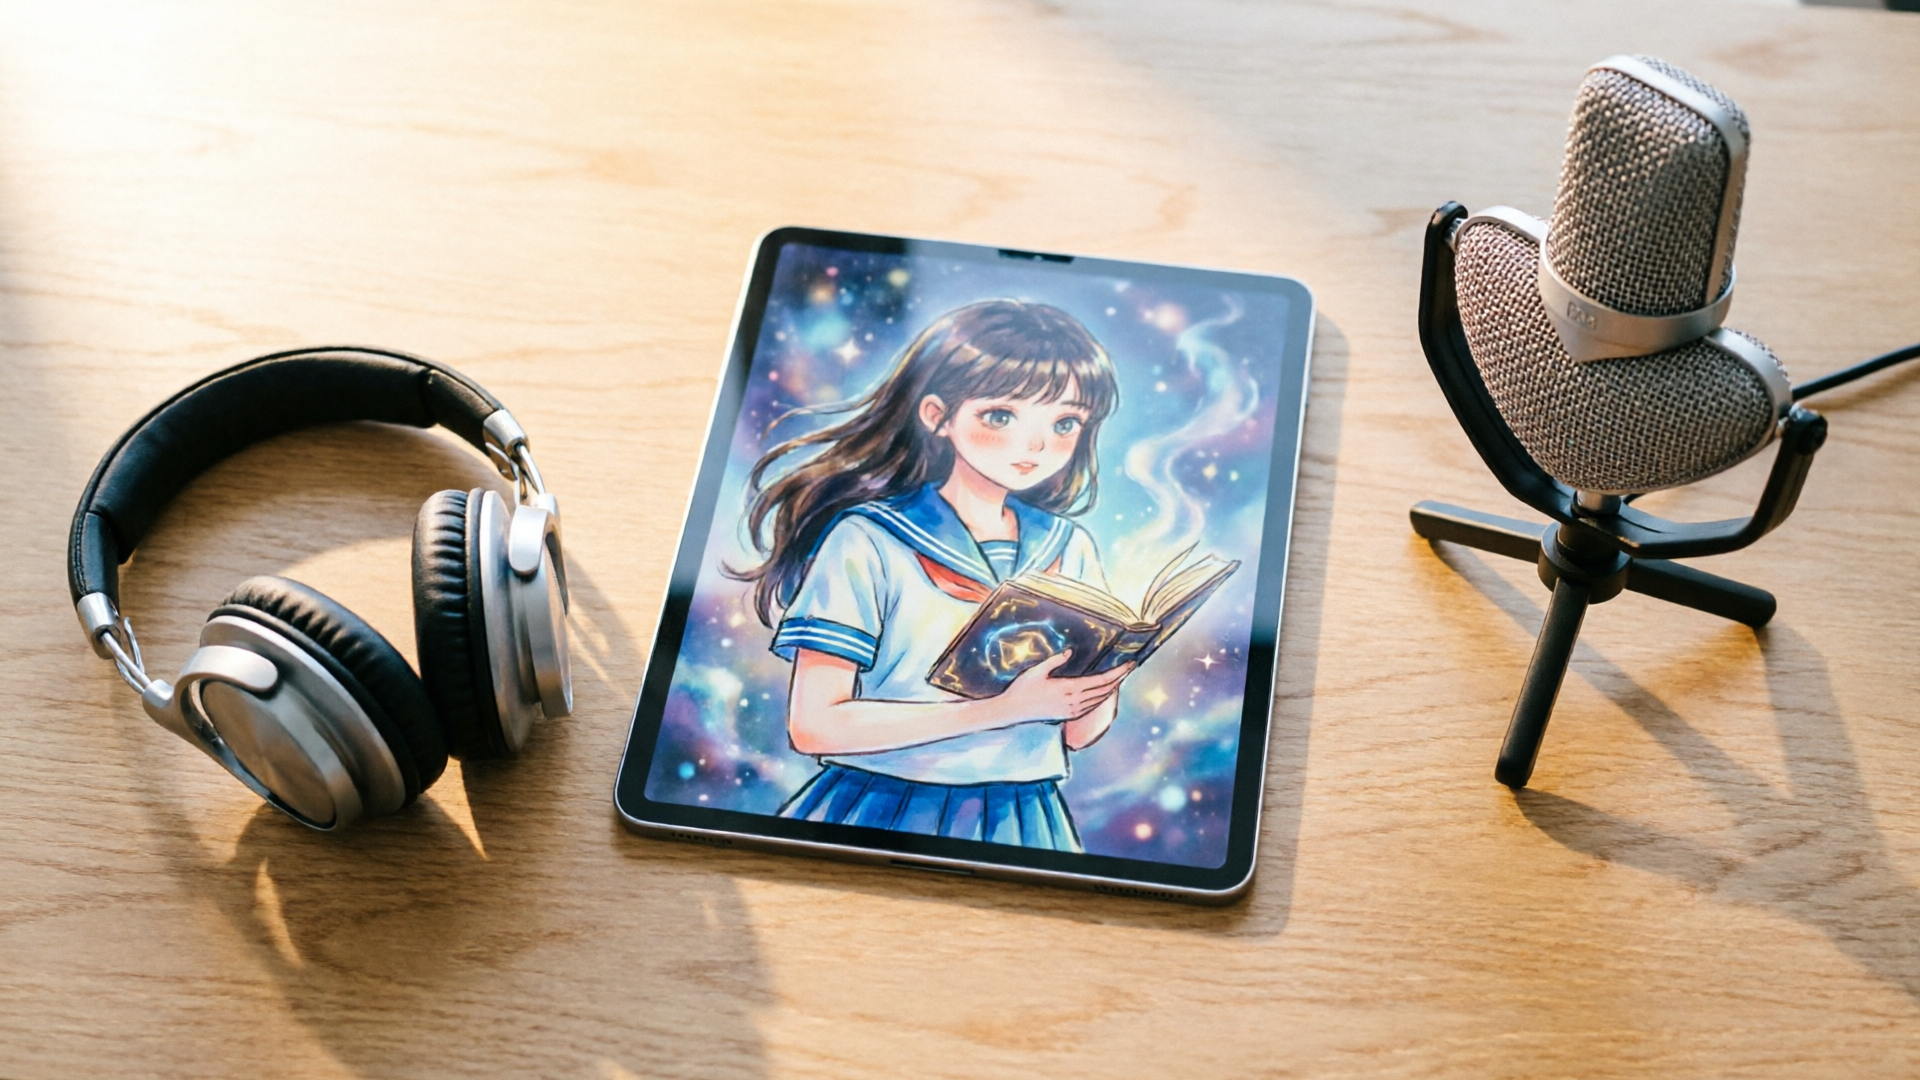
Quick workflow: turn an illustration or selfie into a lip‑synced short using WowMade AI Video Effects
This quick workflow gets a vertical-ready, lip‑synced short out in minutes using WowMade AI Video Effects.
1) Prepare your asset: export a high-resolution PNG/JPG of your illustration or selfie. Aim for a frontal face and clear mouth contrast. 2) Record or generate audio: use a clean recording (mobile voice memos are fine) or a TTS placeholder from any tool. If you want a faster loop, generate a TTS clip first and swap with a live voice later — a common creator shortcut. 3) Open WowMade AI Video Effects (/effects) and pick the lipsync preset. The effect is a tuned preset so there’s no prompt engineering required. 4) Upload your image, upload the audio, select vertical 9:16 output, and choose any additional style (light makeup, slight head turn, or mouth emphasis). Effects queue with the rest of WowMade and render as a finished clip.
Worked example: create a 20‑second product explainer
- Asset: 1 illustration (1024×1024 PNG), frontal face, defined mouth line.
- Audio: 20s spoken script recorded on a phone (or TTS placeholder).
- Steps in WowMade AI Video Effects: select "lipsync" preset → upload image → upload audio → set aspect to 9:16 → render.
Result: one photo in, a finished vertical talking clip out — ready for upload. If you want to test different deliveries, duplicate the job and swap the audio file or choose the "AI news anchor" preset for a more formal read.
This workflow is intentionally minimal: the WowMade AI Video Effects library bundles the tuned presets you need so creators can iterate fast without building a pipeline from scratch. If you want more control over the background or camera moves, consider starting from an image in the AI Video Generator (/create-video) and combining that output with the lipsync clip.
Advanced workflow: matching emotion, pacing, and style — practical tweaks in WowMade
Once the quick workflow gives you a baseline, use these advanced adjustments to refine emotion, pacing, and overall style in WowMade AI Video Effects.
Pacing and timing
- Use TTS placeholders to lock down timing: generate a terse TTS version of your final script so you can iterate on mouth timing quickly. Swap in the final voice (or an AI voice from /ai-voices) only after the lip timing is approved.
- Fine‑tune audio cuts: if a single long take feels flat, split the audio into shorter clips and render separate effect passes, then stitch them in an editor to emphasize beats.
Emotion and expression
- Layer presets: choose the base lipsync effect, then add subtle avatar or expression presets available in the effects library to increase eyebrow and cheek motion without manual animation.
- Replace or tweak mouth plates: for stylized characters, switch to a variant image with exaggerated mouth shapes for key words or punchlines.
Style and finish
- Color grade and background: after rendering the lipsync clip, use the AI Video Generator (/create-video) to generate a matching background or camera move and composite the two clips for a cinematic feel.
- Add music and submixing: use the AI Music Generator (/create-music) to make a short instrumental bed that supports rhythm without muddying the speech signal.
Worked tweak: make a punchline land
If a punchline hits too early, export the audio, nudge the final word forward 120–160 ms in an audio editor, re-upload to the lipsync effect, and re-render. Small timing offsets like these are perceptible and can make versus break comedic rhythm.
These controls let you scale one photo into multiple finished variations for ad testing, character shorts, or different platform cuts, while still benefiting from WowMade AI Video Effects’ one-click presets.
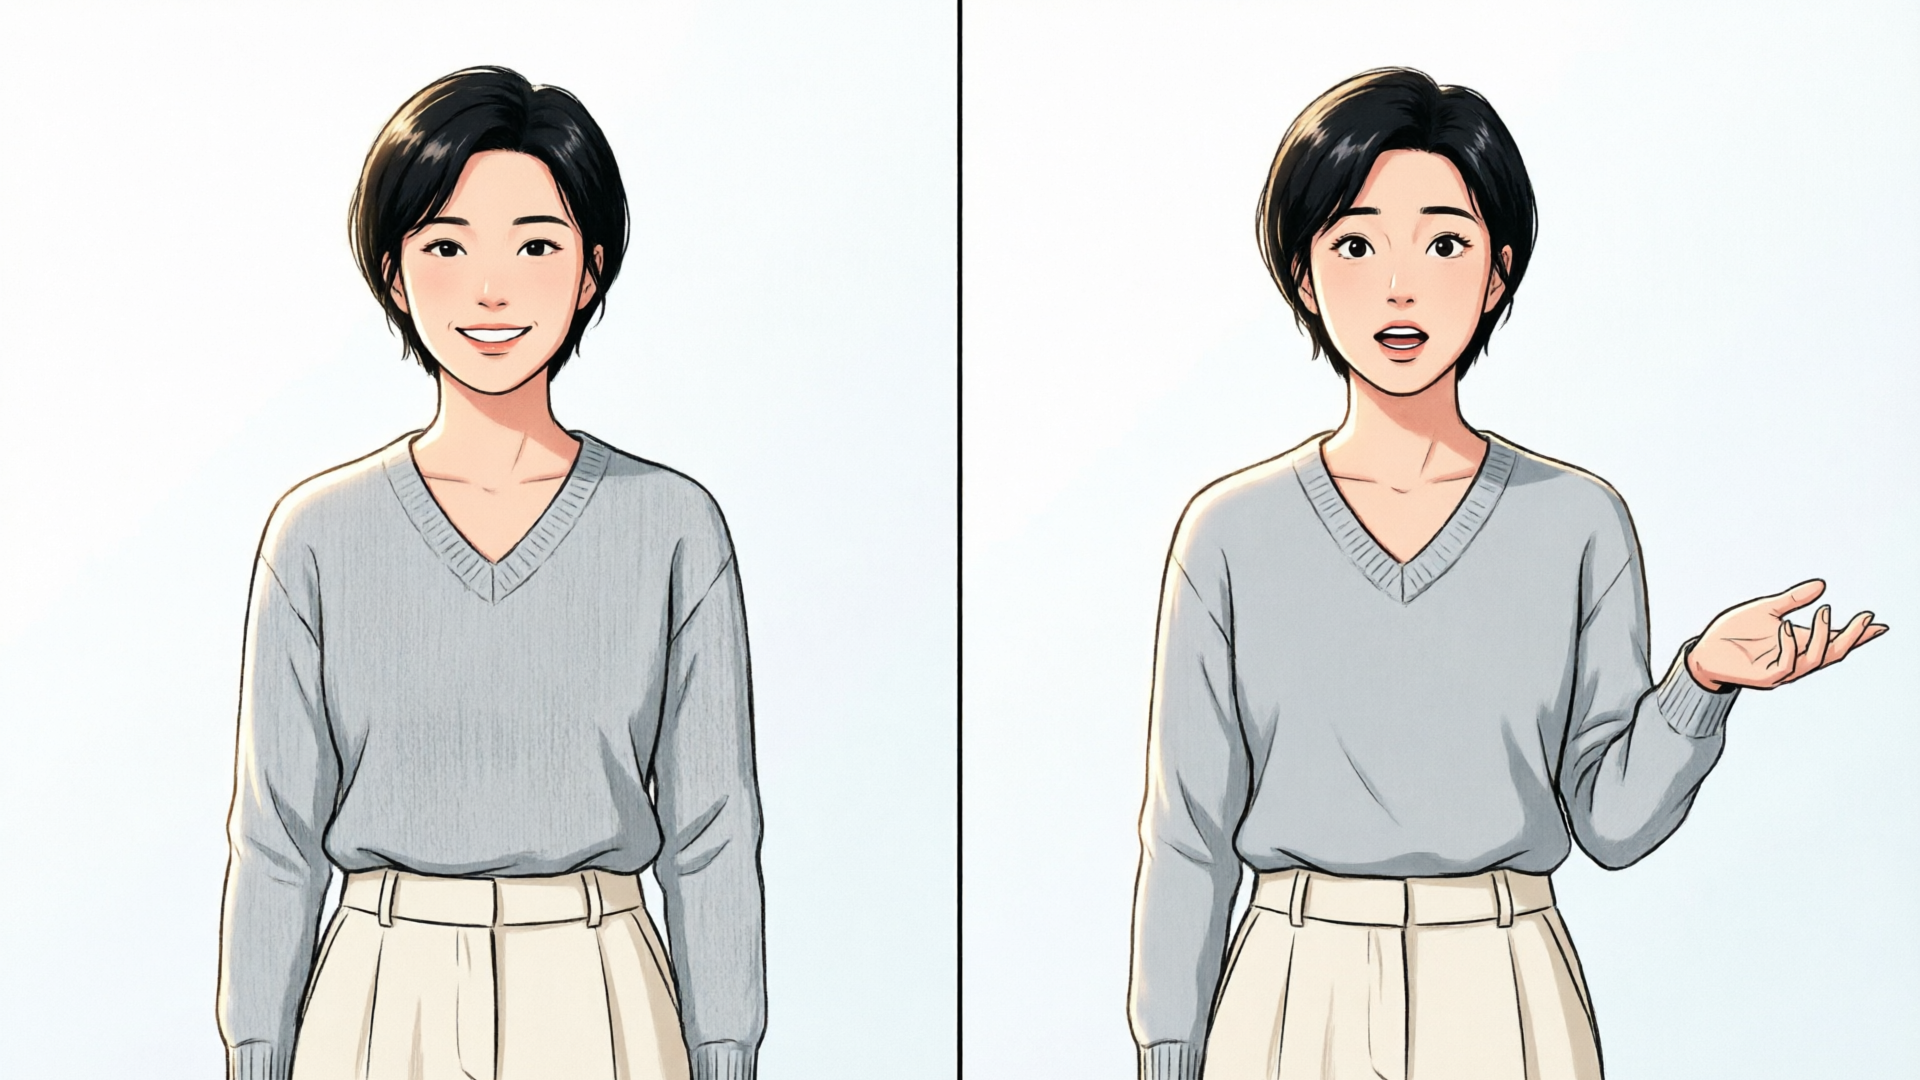
Top use cases and creative formats that perform on social (dance trends, character shorts, AI news anchor, pet videos)
Creators are turning single-image lipsync clips into repeatable formats that perform well across Reels, TikTok, and Shorts. Here are high-leverage use cases:
- Dance trend video from a selfie: apply an AI dance effect on a portrait and sync with a trending audio hook. WowMade AI Video Effects can combine dance and lipsync to put your character into movement while keeping the mouth aligned.
- Character shorts and micro‑sketches: short jokes, micro‑essays, or satirical takes are ideal—tight lip timing helps timing and punch.
- AI news anchor: use the "news anchor" preset on a polished illustration for explainer formats and listicles. It’s a fast way to produce multiple episodes with the same headshot and different scripts.
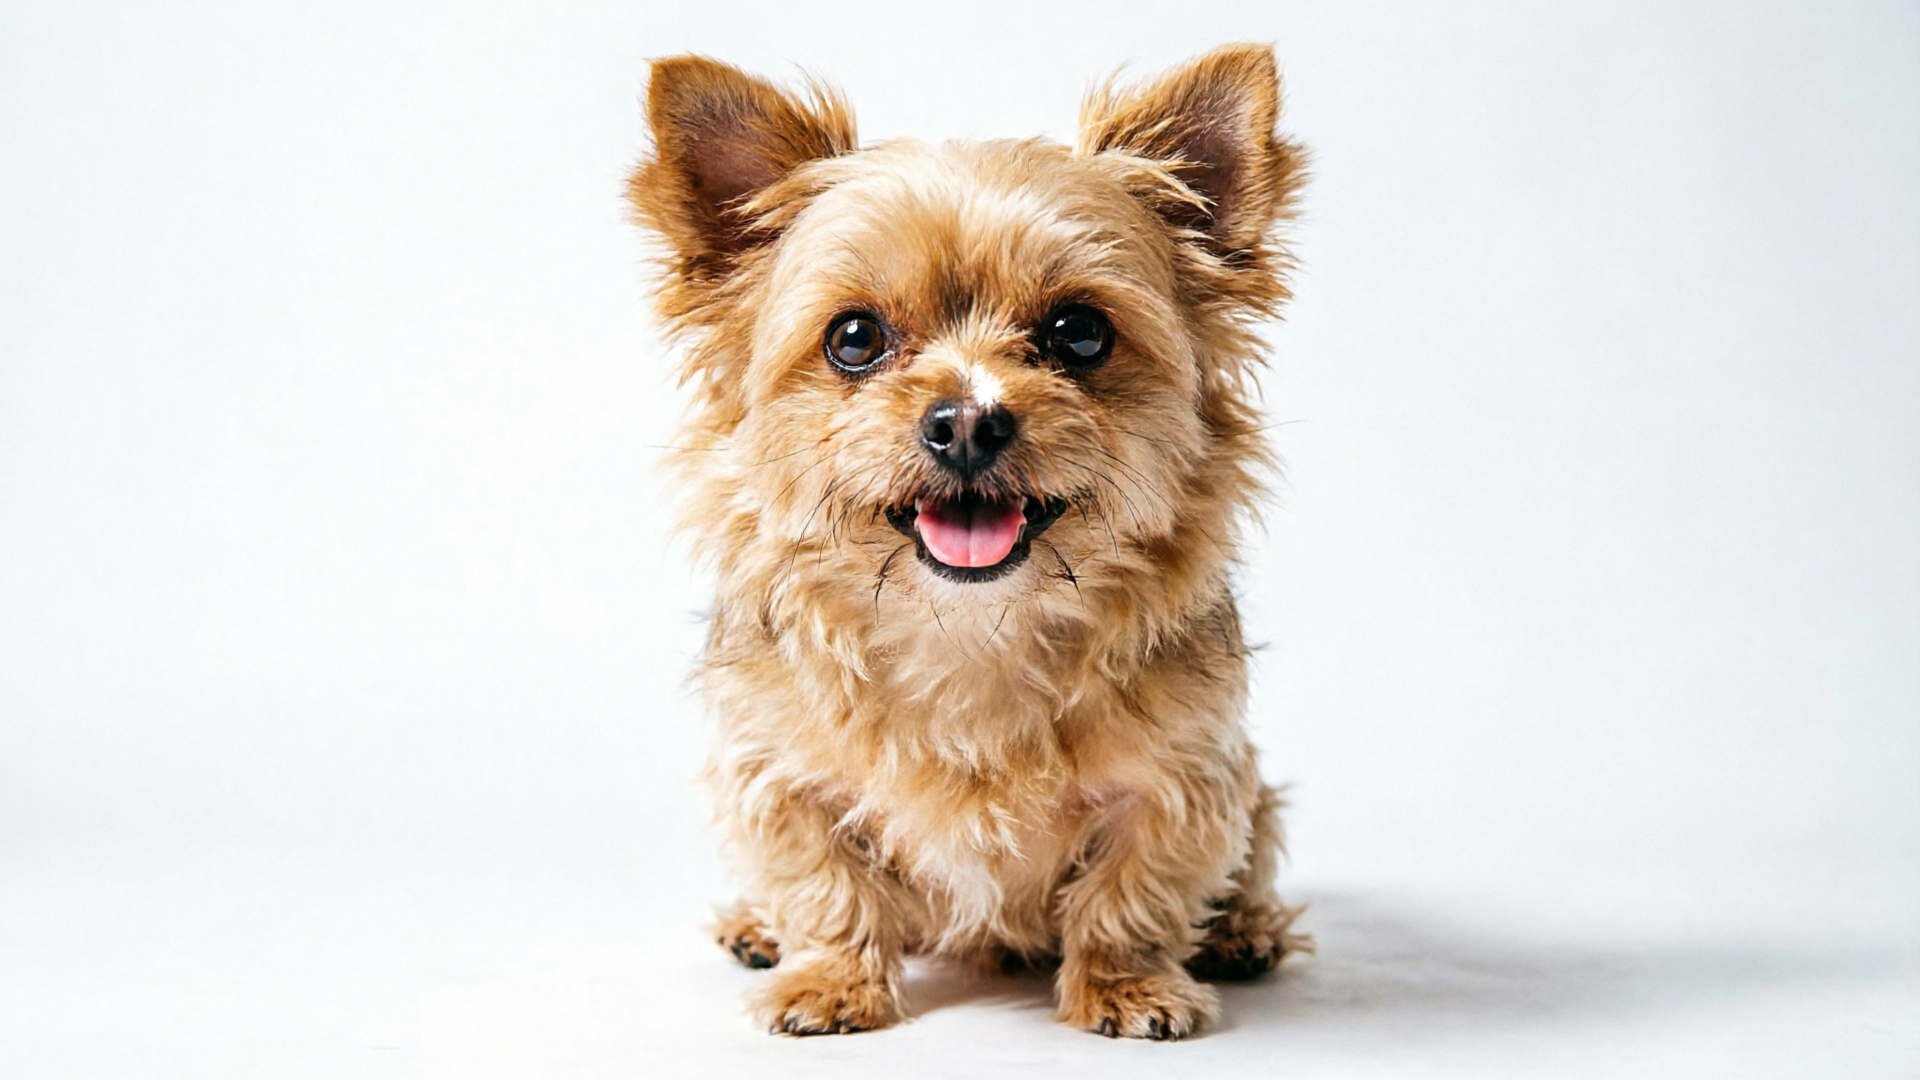
- Pet videos: creators upload a pet photo and use lipsync or dance presets to make playful clips that drive shares.
These formats scale because effects are preset-based: one image becomes multiple deliverables (15s TikTok, 30s Instagram, and thumbnail‑ready stills) without re-posing models or re-illustrating. If you need sound design or a custom score, the AI Music Generator (/create-music) can produce short tracks tuned to the clip length and mood.
Internal link: when you want to build a matching background or cinematic camera move, try the AI Video Generator (/create-video) to produce assets that align with your character and scene.
Evaluating quality and speed: tests, metrics, and A/B ideas for lip‑synced shorts
Measure both subjective quality and performance metrics so you can iterate effectively.
Quality checks
- Synchronization test: play the clip at normal and 0.5x speed to inspect mouth shapes against phonemes. Watch for obvious off‑by‑syllable errors and jitter.
- Identity consistency: ensure the output preserves core characteristics (skin tone, hairline, accessories). If identity drifts, try higher‑res inputs or alternate presets.
- Expression realism: look for natural jaw motion and minimal frame jitter around the mouth.
Speed and iteration metrics
- Render time: record elapsed render time for short jobs (WowMade effects share a queue with other jobs), then use that to plan daily output capacity.
- Iterations to final: count how many render passes are needed to reach an acceptable result. Many creators aim for 2–3 passes per clip by using TTS placeholders.
A/B test ideas
- Hook variation: test three different opening lines with the same lipsync preset to see which retains viewers through 3 seconds.
- Delivery test: compare TTS vs. human voice deliveries using the same mouth animation to check which performs better for your audience.
- Style swap: render the same audio with lipsync vs. news‑anchor presets to test format preference.
Track standard engagement metrics (watch time, retention at 3s, shares) across variants. These tests will show whether your time is best spent on visual polish or on scripting and hook optimization.
For an evidence-based background on how these systems extract audio features, see the MDPI survey on audio‑driven facial animation: https://www.mdpi.com/2078-2489/15/11/675/html
Ethics, rights, and permission checklist for character lip‑sync and AI effects
Before you publish lipsync content, run this short checklist.
- Consent and likeness rights: use your own photos or secure written permission from anyone whose likeness you animate. For public figures, check platform policies and local laws before monetizing.
- Voice rights: if you use a recorded human voice (especially someone else’s), obtain explicit permission. If using voice cloning from /ai-voices, disclose synthetic audio where required by platform rules.
- Copyright in source art: ensure you own or have a license for the illustration or photo. If you created the artwork but used sample assets or templates, verify license compatibility with commercial use.
- Attribution and disclosure: some platforms require disclosure for synthetic content or paid endorsements. Be transparent when appropriate.
- Avoid deceptive deepfakes: do not create clips that falsely attribute statements to real people. Keep satire and fictional characters clearly separated from real-world claims.
When you plan to repurpose a single photo into multiple ad variations or social formats, keep a record of permissions, voice releases, and asset sources. That small amount of upfront discipline protects you from takedowns or legal risk as your content scales.
Conclusion
AI lip‑sync effects let individual creators and small teams produce polished, platform-ready character shorts without hiring animators. Start with a well‑designed face asset, use TTS as a timing placeholder if you need fast iteration, and rely on WowMade AI Video Effects to convert a single photo into a finished vertical clip with tuned presets for lipsync, avatar, dance, and news anchor outcomes. For a concrete next step, open the AI Video Effects library and create a 15–30s vertical lip‑synced clip from a single image — then iterate with different deliveries and presets to find what performs best.